


Strike gold next time you’re working on a creative project as we step you through these gold leaf techniques or gilding techniques. From applying gold leaf to glass, paper and clay, learn how to add some glitter and gold to your next masterpiece and give gilding a go.
Applying gold leaf to glass, metal and stone

1. Preparing a non-porous surface
To apply guild leaf to a surface such as cured plaster, glass, metal, and stone, you’ll need to clean the surface first. To make sure the sizing sticks, check that your surface is free from any oil or dust before applying the leaf size. Use paper towel, a cloth or a clean, dry brush to make sure the surface is clean and ready. Fabric like leather and polyester won’t work too well when it comes to sizing as the leaf size needs a strong grip to the surface before applying gold on top.
2. Sizing
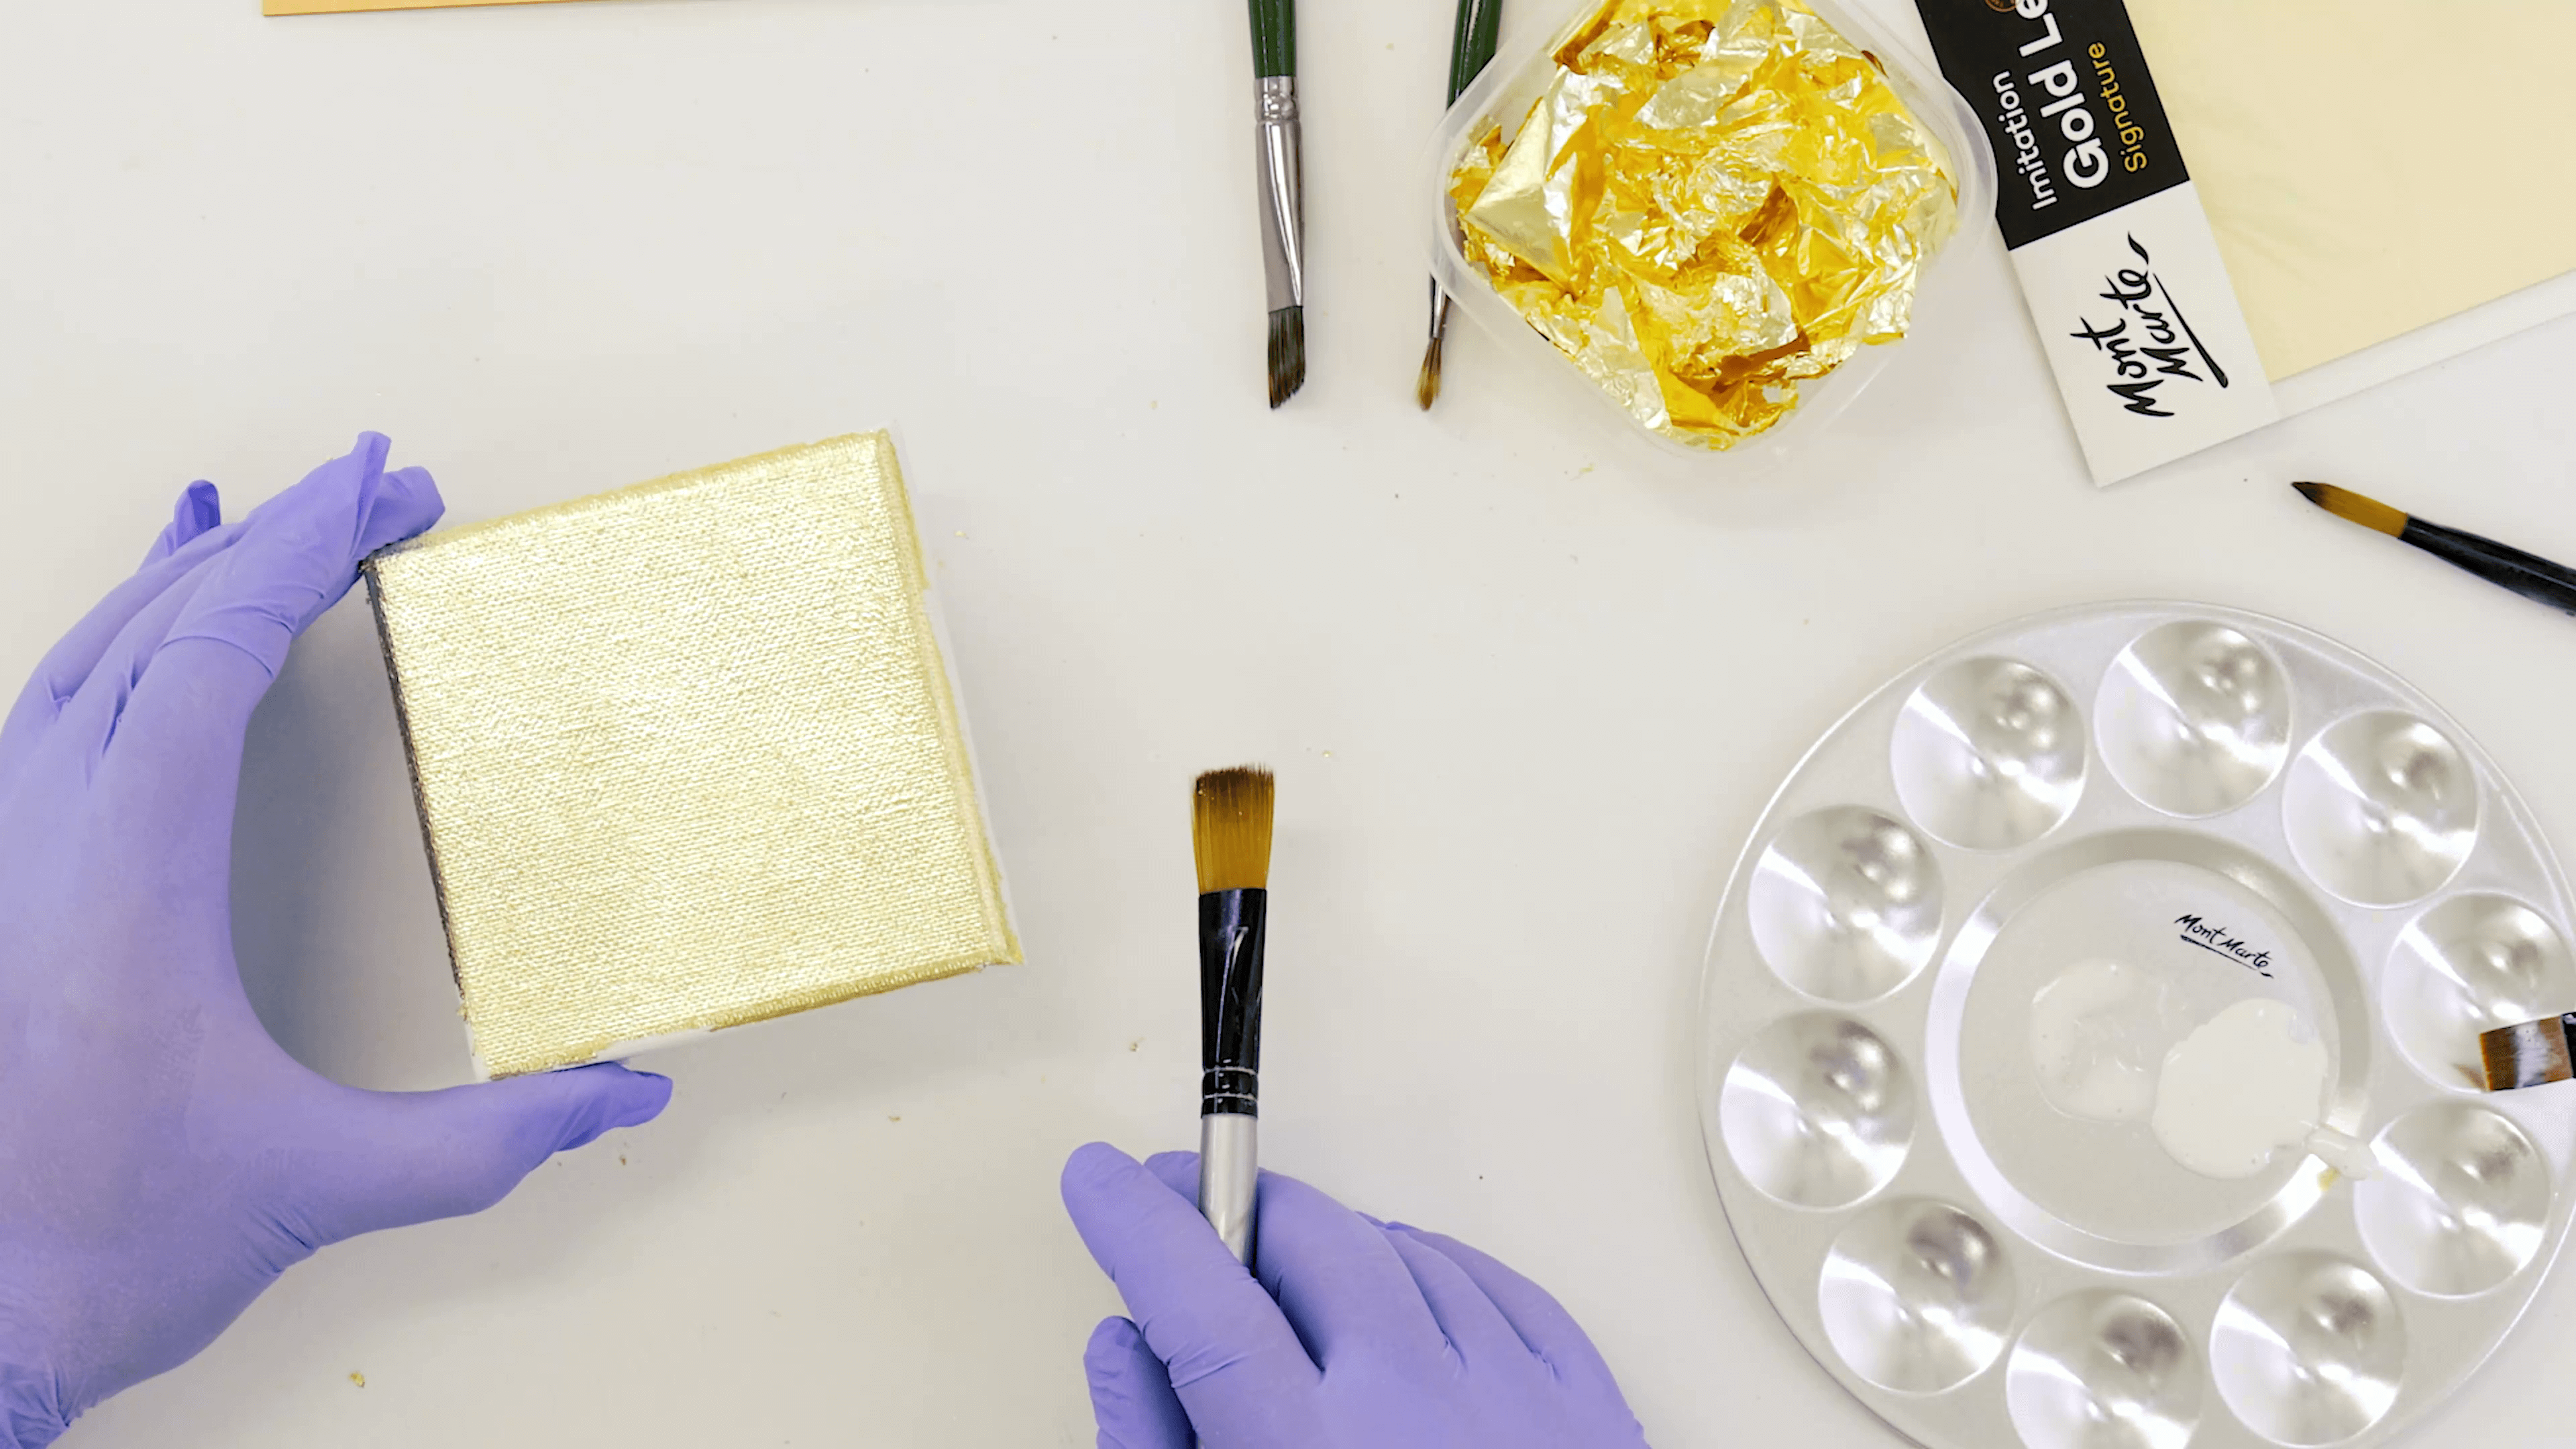
Using a soft taklon brush, apply a thin even layer of the size onto the area that you’re wanting the gold to stick to. (Keeping in mind, the gold leaf will only stick to the areas that have been sized.)
Wash the brush immediately with water to clean, then allow 25mins for the size to become tacky, before applying leaf.
3. Applying the gold leaf to glass, metal and stone
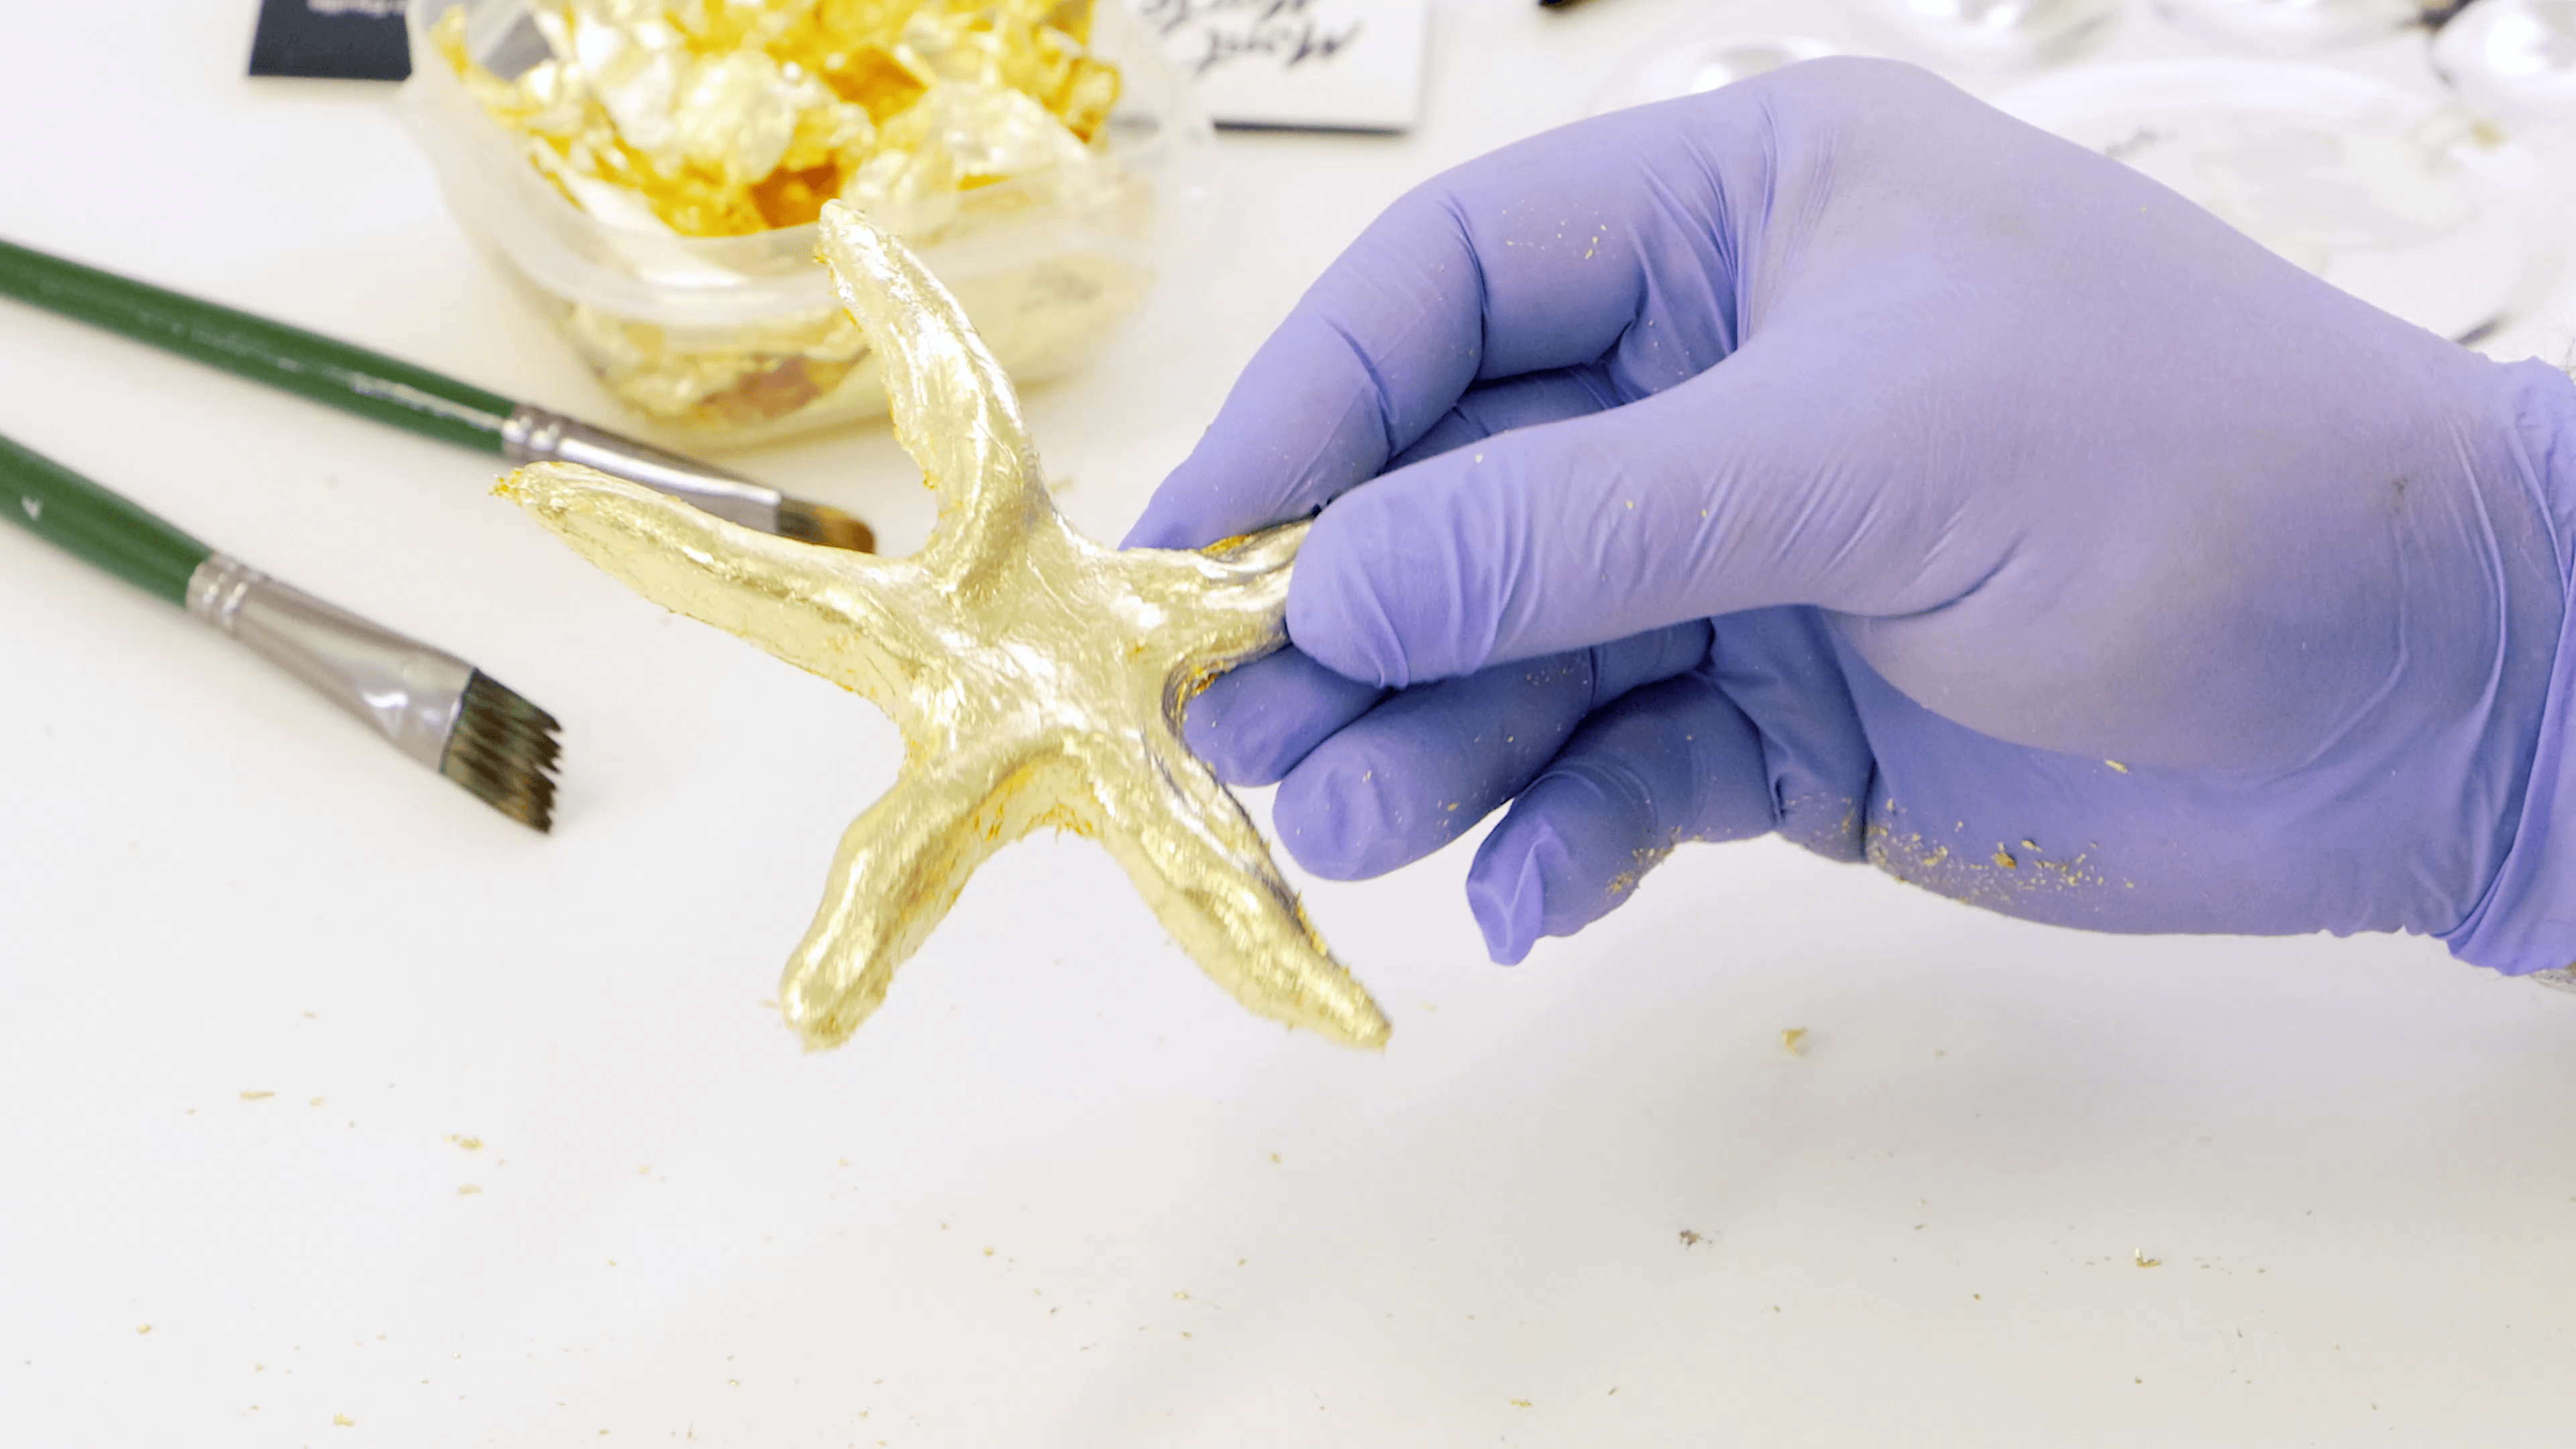
The natural oils in your hands can cause gold leaf to discolour, so wearing a pair of lightweight, cotton gloves, apply the gold leaf to the area that has been sized. Then using a clean taklon brush, brush from one side to another to stick the gold leaf. A clean brush will keep the gold clean and a taklon brush will help stop the gold from getting scratched.
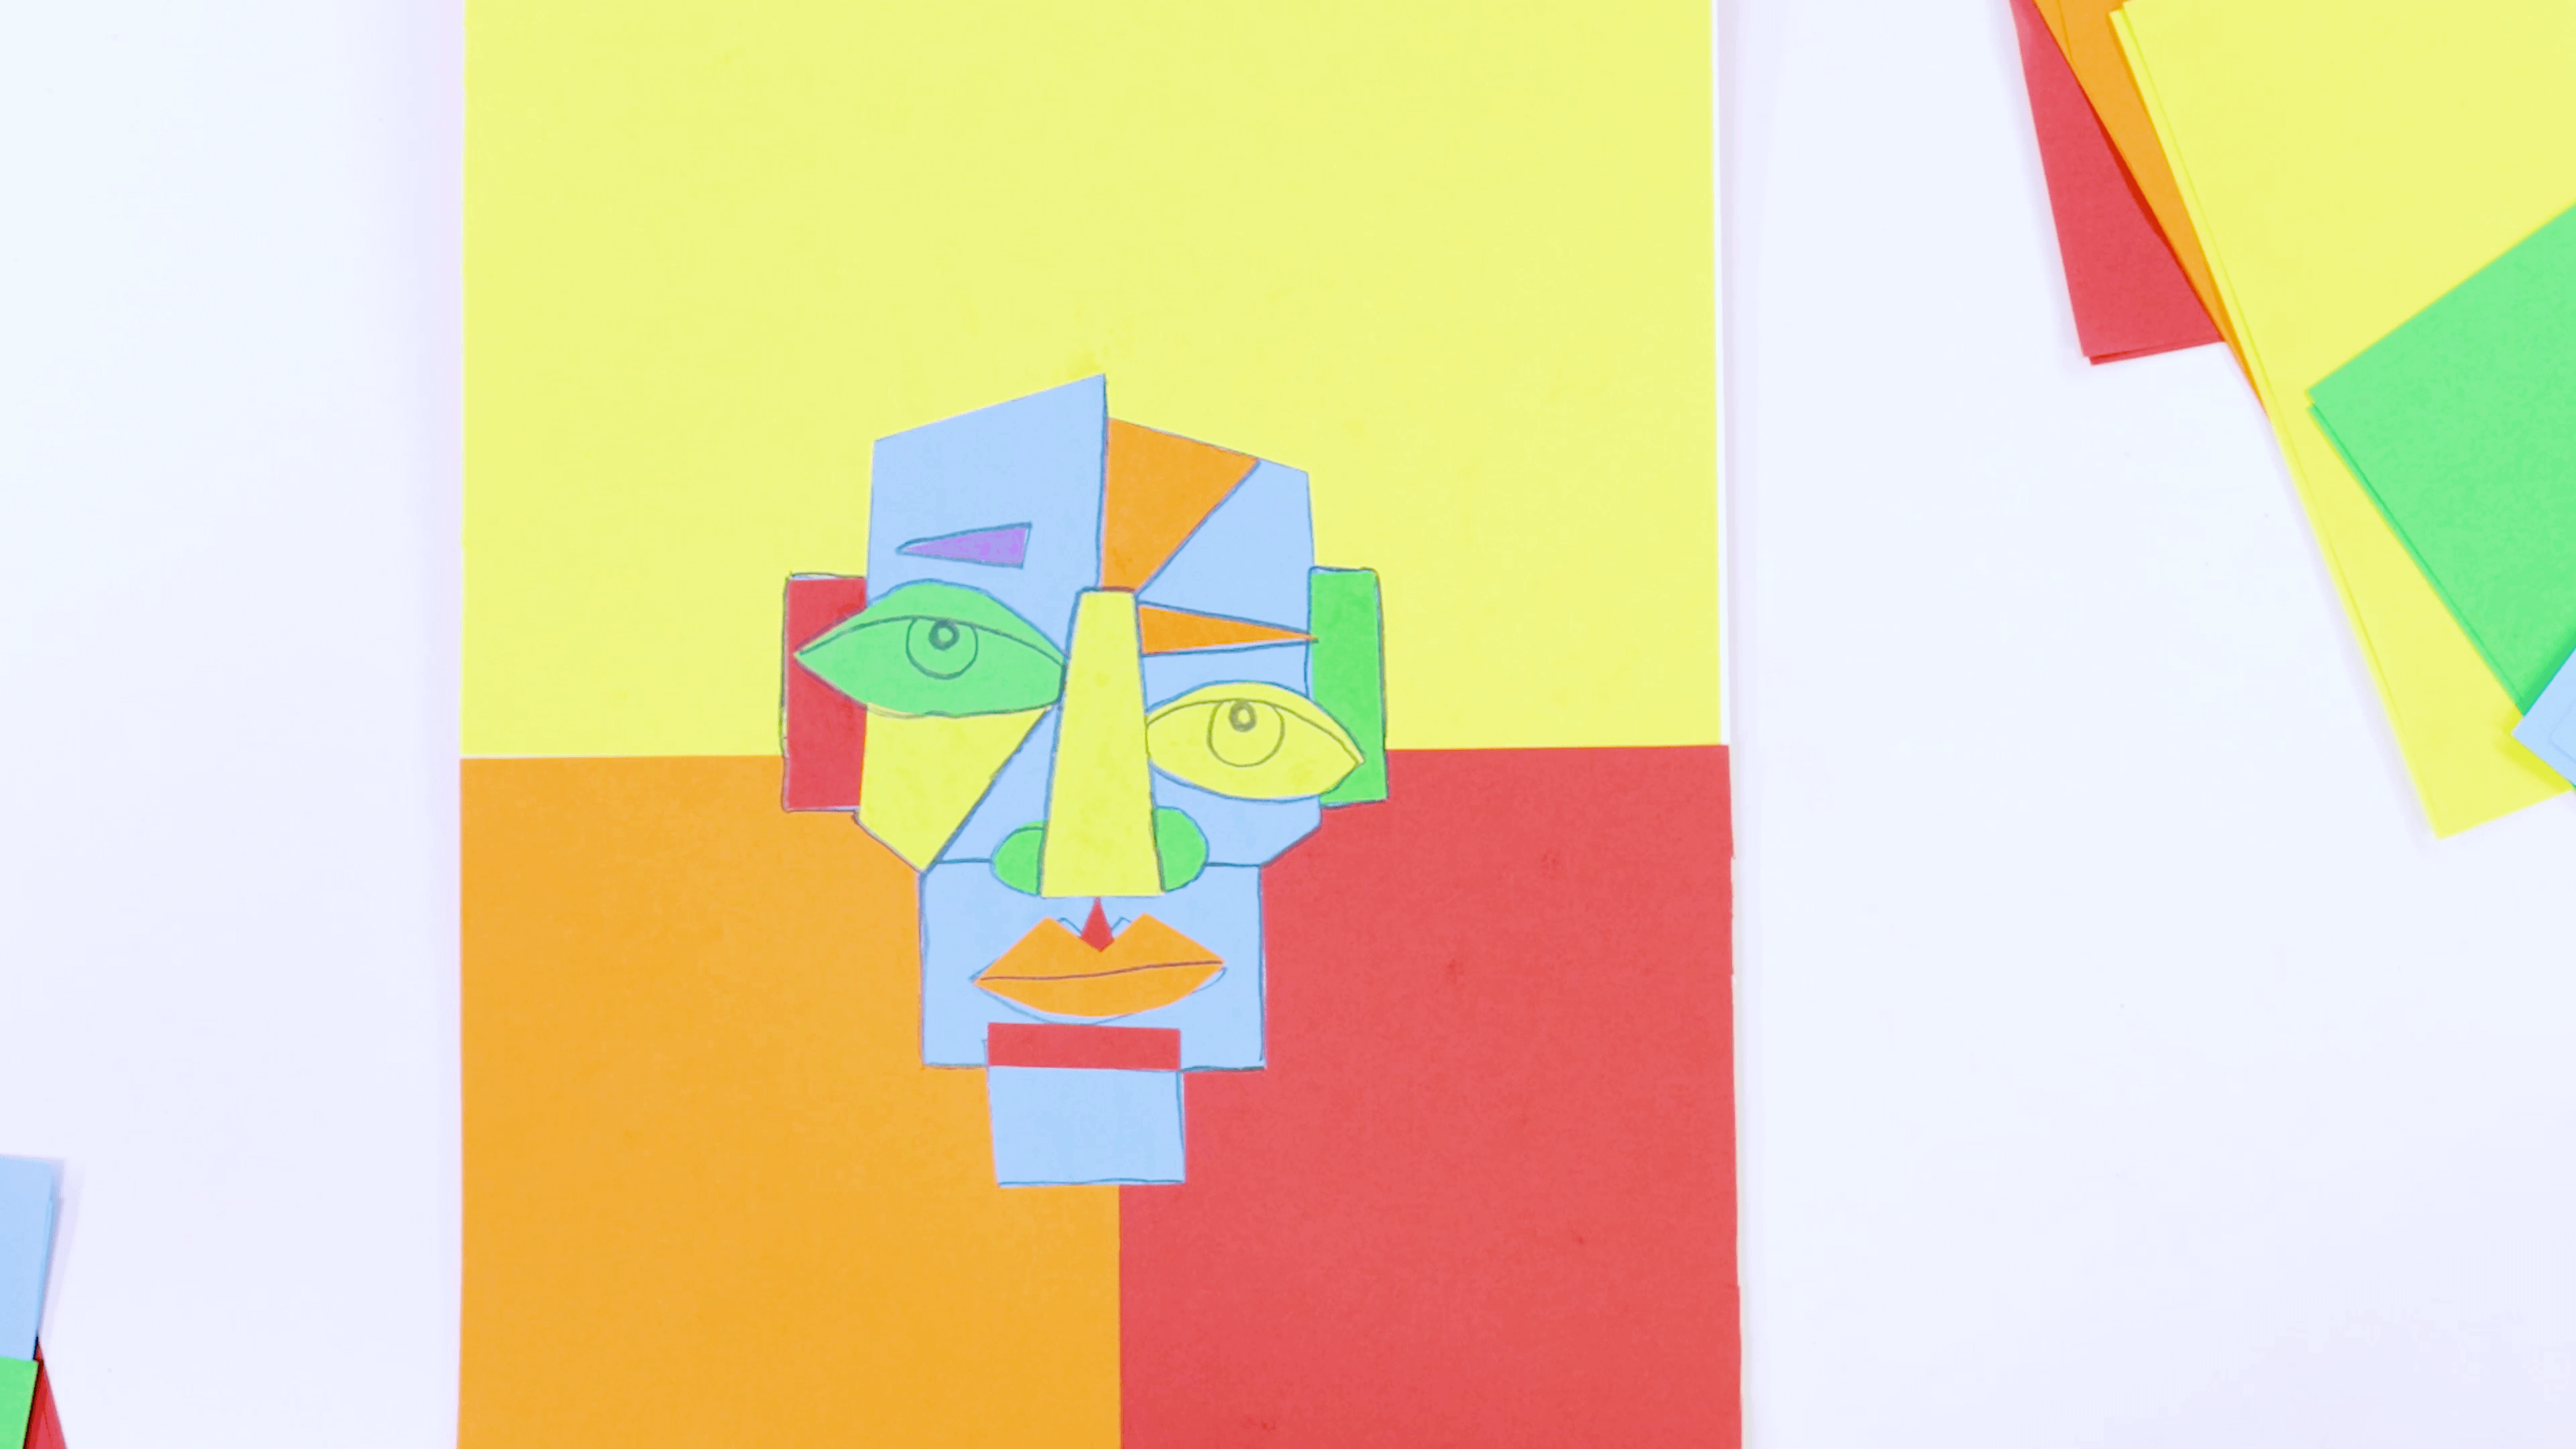
Applying gold leaf to canvas and paper

1. Preparing porous surfaces
Like non-porous surfaces, make sure your surface is clean and free from any dirt or dust. Then apply the sizing to your surface. It’s best to apply a smooth, even amount of sizing to make sure a) the sizing doesn’t soak into your paper and b) so that the gold leaf sticks to the sizing evenly. Once the sizing becomes tacky, you can apply your gold.
2. Sizing
Using a soft taklon brush, apply a thin even layer of the size onto the area that you’re wanting the gold to stick to. (Keeping in mind, the gold leaf will only stick to the areas that have been sized).
Wash the brush immediately with water to clean, then allow 25mins for the size to become tacky, before applying leaf.
3. Applying gold leaf to canvas and paper
Pop on a pair of lightweight cotton gloves, then apply the gold leaf to the area that has been sized. Then using a clean taklon brush, brush from one side to another to stick the gold leaf.
Applying gold leaf on an existing artwork

1. Preparing an old artwork
If you’re working with an artwork like watercolour, gouache, acrylic, or oil paintings, just make sure your work has dried completely, and it’s free from any dust or dirt. You can also gesso an old canvas or wooden board before applying sizing, just make sure everything has dried before sizing.
2. Sizing
For dried and oil pastel artworks, these will be difficult to apply size to, because of their oily consistency, so it’s best to apply your sizing to paper rather than pastels. Using a soft taklon brush, apply a thin even layer of the size onto the area that you’re wanting the gold to stick to. (Keeping in mind, the gold leaf will only stick to the areas that have been sized.) Wash the brush immediately with water to clean, then allow 25 mins for the size to become tacky, before applying leaf.
3. Applying gold leaf to an existing artwork
Wearing a pair of lightweight cotton gloves, apply the gold leaf to the area that has been sized. Then using a clean taklon brush, brush from one side to another to stick the gold leaf.
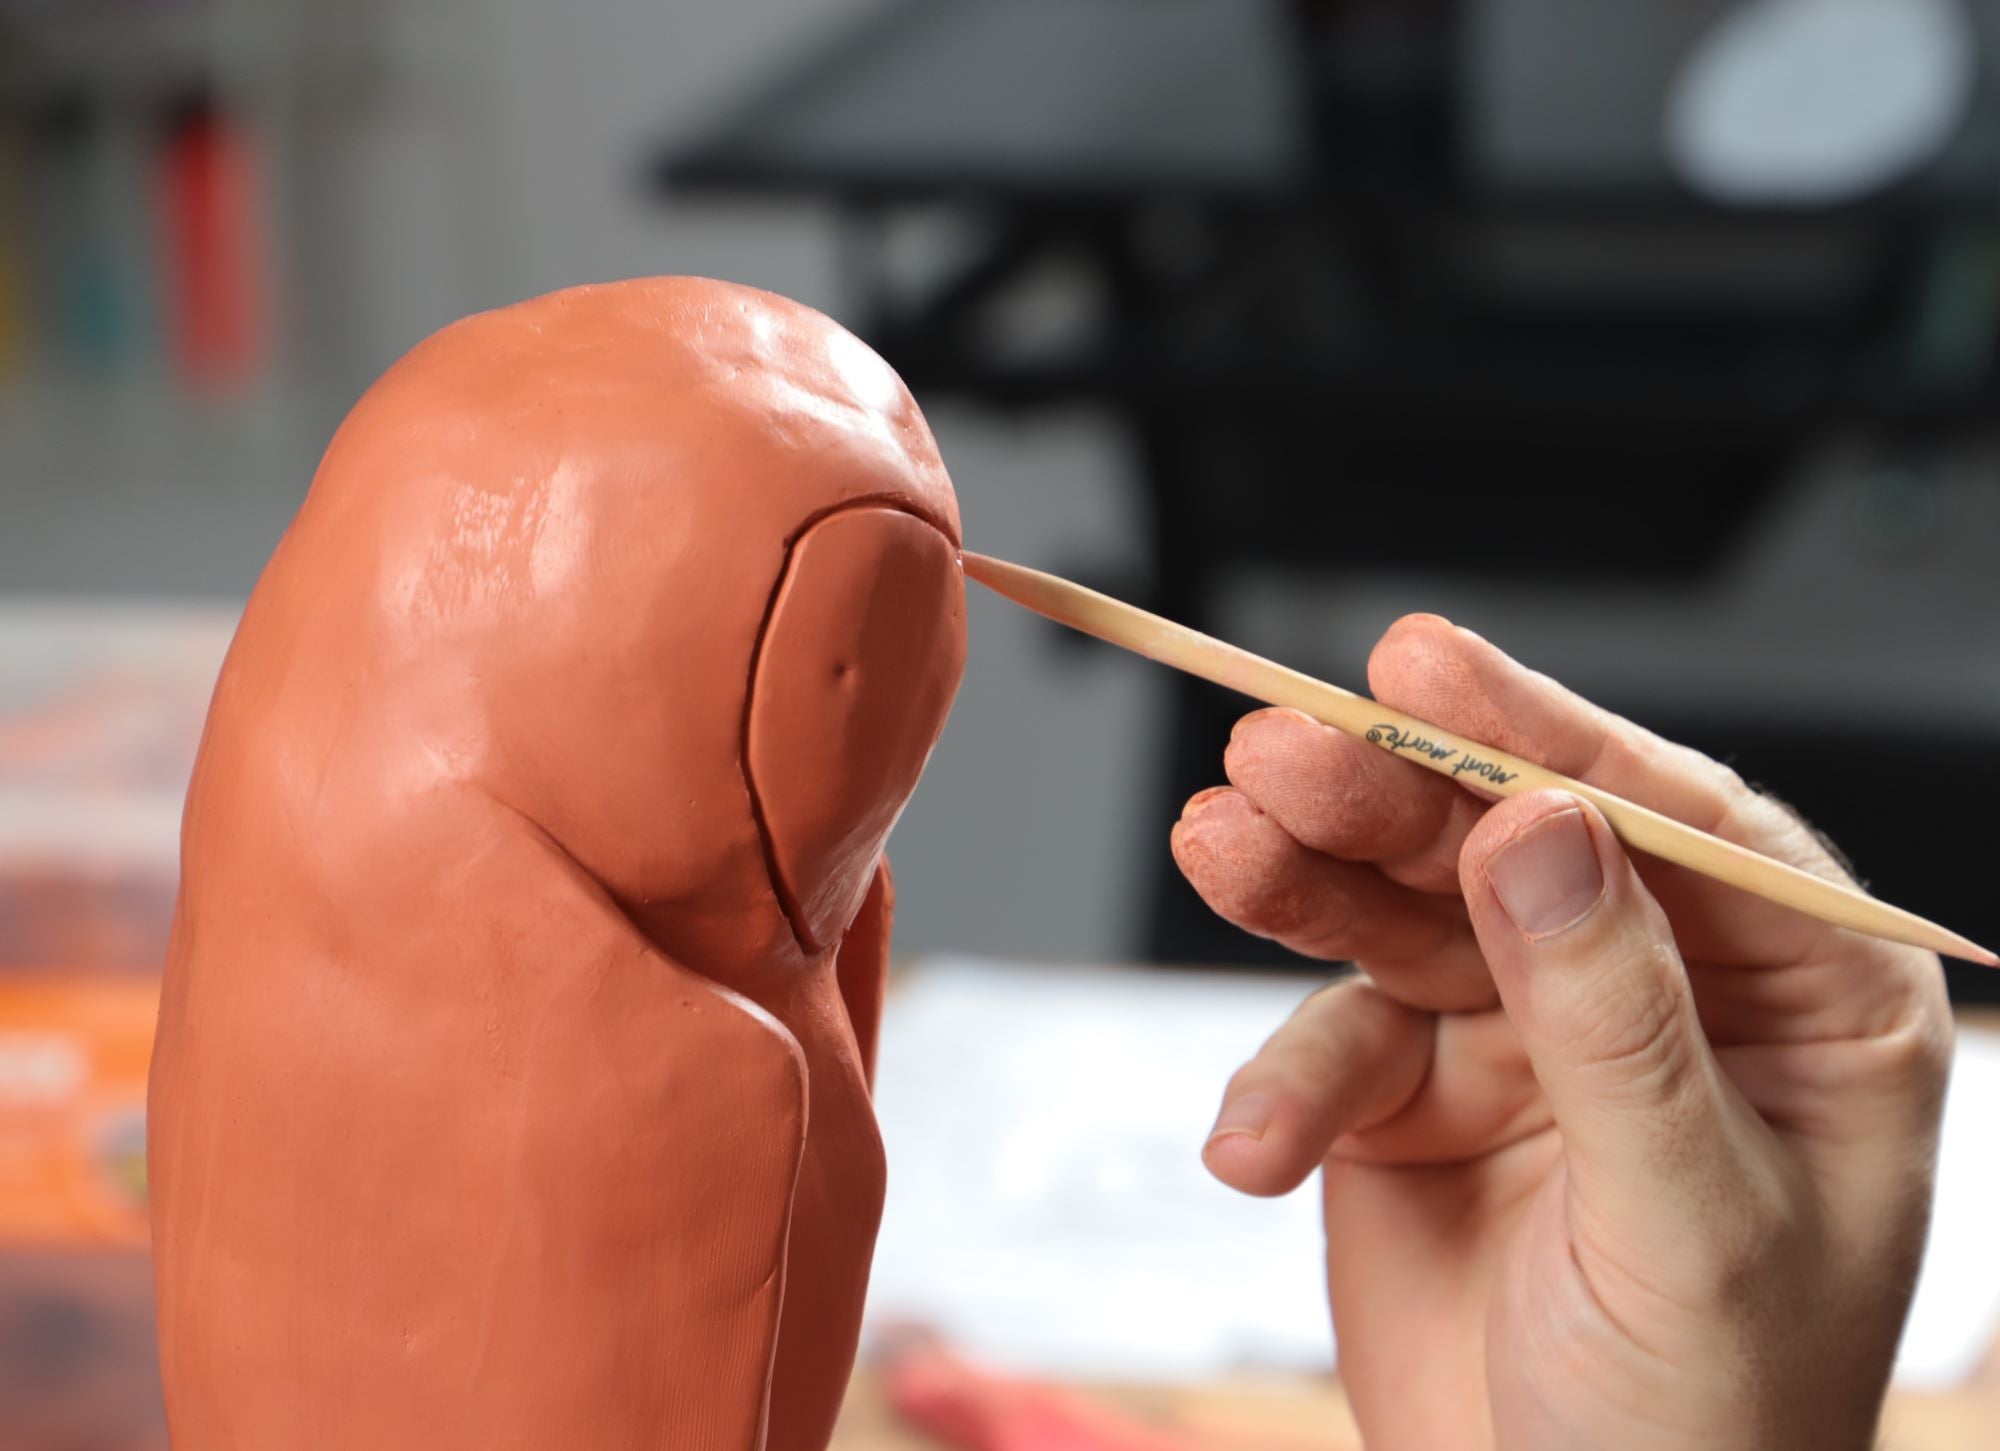
Applying gold leaf on air dry clay
1. Preparing air dry clay
For air dry clay creations, they’ll need to be sealed first. Use acrylic gloss medium or a mix of PVA glue and water to seal your air-dry clay before you apply any sizing. This is because the clay will absorb the size, meaning the gold won’t stick. Once the sealing has dried, you’re ready to apply sizing.
2. Sizing
Once your creation has been sealed and it’s dry. Grab a soft taklon brush and apply a thin even layer of the size onto the area that you’re wanting the gold to stick to. Wash the brush immediately with water to clean, then allow 25 mins for the size to become tacky, before applying leaf. Keeping in mind, the gold leaf will only stick to the areas that have been sized, so don’t go too overboard.
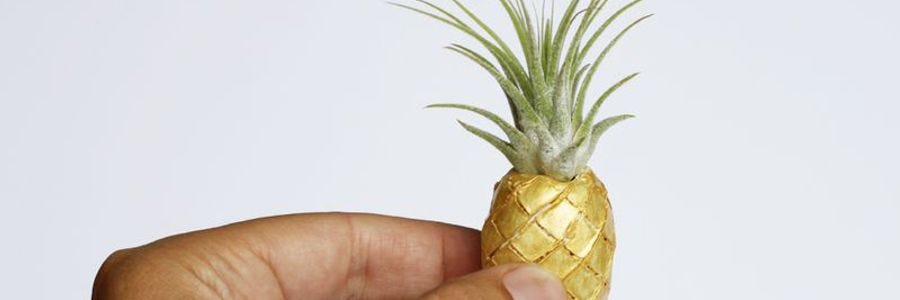
3. Applying gold leaf on air dry clay
Wearing a pair of lightweight cotton gloves, apply the gold leaf to the area that has been sized. Then using a clean, taklon brush, brush from one side to another to stick the gold leaf.
Applying gold leaf to wood

Gold leaf will only stick to the areas that have been sized, so it’s best to make sure your surface is smooth and even. You can sand down the wood, using a fine, grit sandpaper or gesso can be used before sizing. Just make sure the gesso has dried completely before starting. Then size and apply gold leaf to the wood as usual.
Applying gold leaf to polymer clay

For polymer clay, you can add gold leaf directly to the clay before baking (either by rolling the clay into pieces of gold, pressing the gold onto your clay before baking or by passing the clay through a clay press to bind the gold to the clay. You can skip sizing for polymer clay as the baking process will handle this.
Working with small, specific areas

If you have a specific area that you’re looking to cover in your project (eg a raised area or etched detailing), apply the sizing to this specific area using a smaller brush. Once dried, you can apply the gold leaf using craft tweezers for small spaces or cut the leaf sizing to fit your sized area before applying. If the gold sheet is too big, you can tear off a smaller amount before sizing.
Gold leaf flakes

You can remove excess gold leaf to create gold leaf flakes by using a soft, taklon brush after sizing, and brushing the gold from side to side, to remove the gold pieces. Alternatively, you can trim the gold leaf sheets before applying them to the sizing.
Use a protective coating for gold leaf
Gold leaf will discolour after a little while, so to get the most out of your gold, reach for a varnish and use it as a protective coating for gold leaf. Our Premium Iridescent Varnish will help keep the gold in place and it adds a touch of sparkle too. Apply this on a taklon brush, slightly overlapping each stroke, working side to side. A few coats of varnish will work best to lock in the colour.
It's best to stick to varnish for this as a medium (like gloss or matte) will damage your gold leaf.
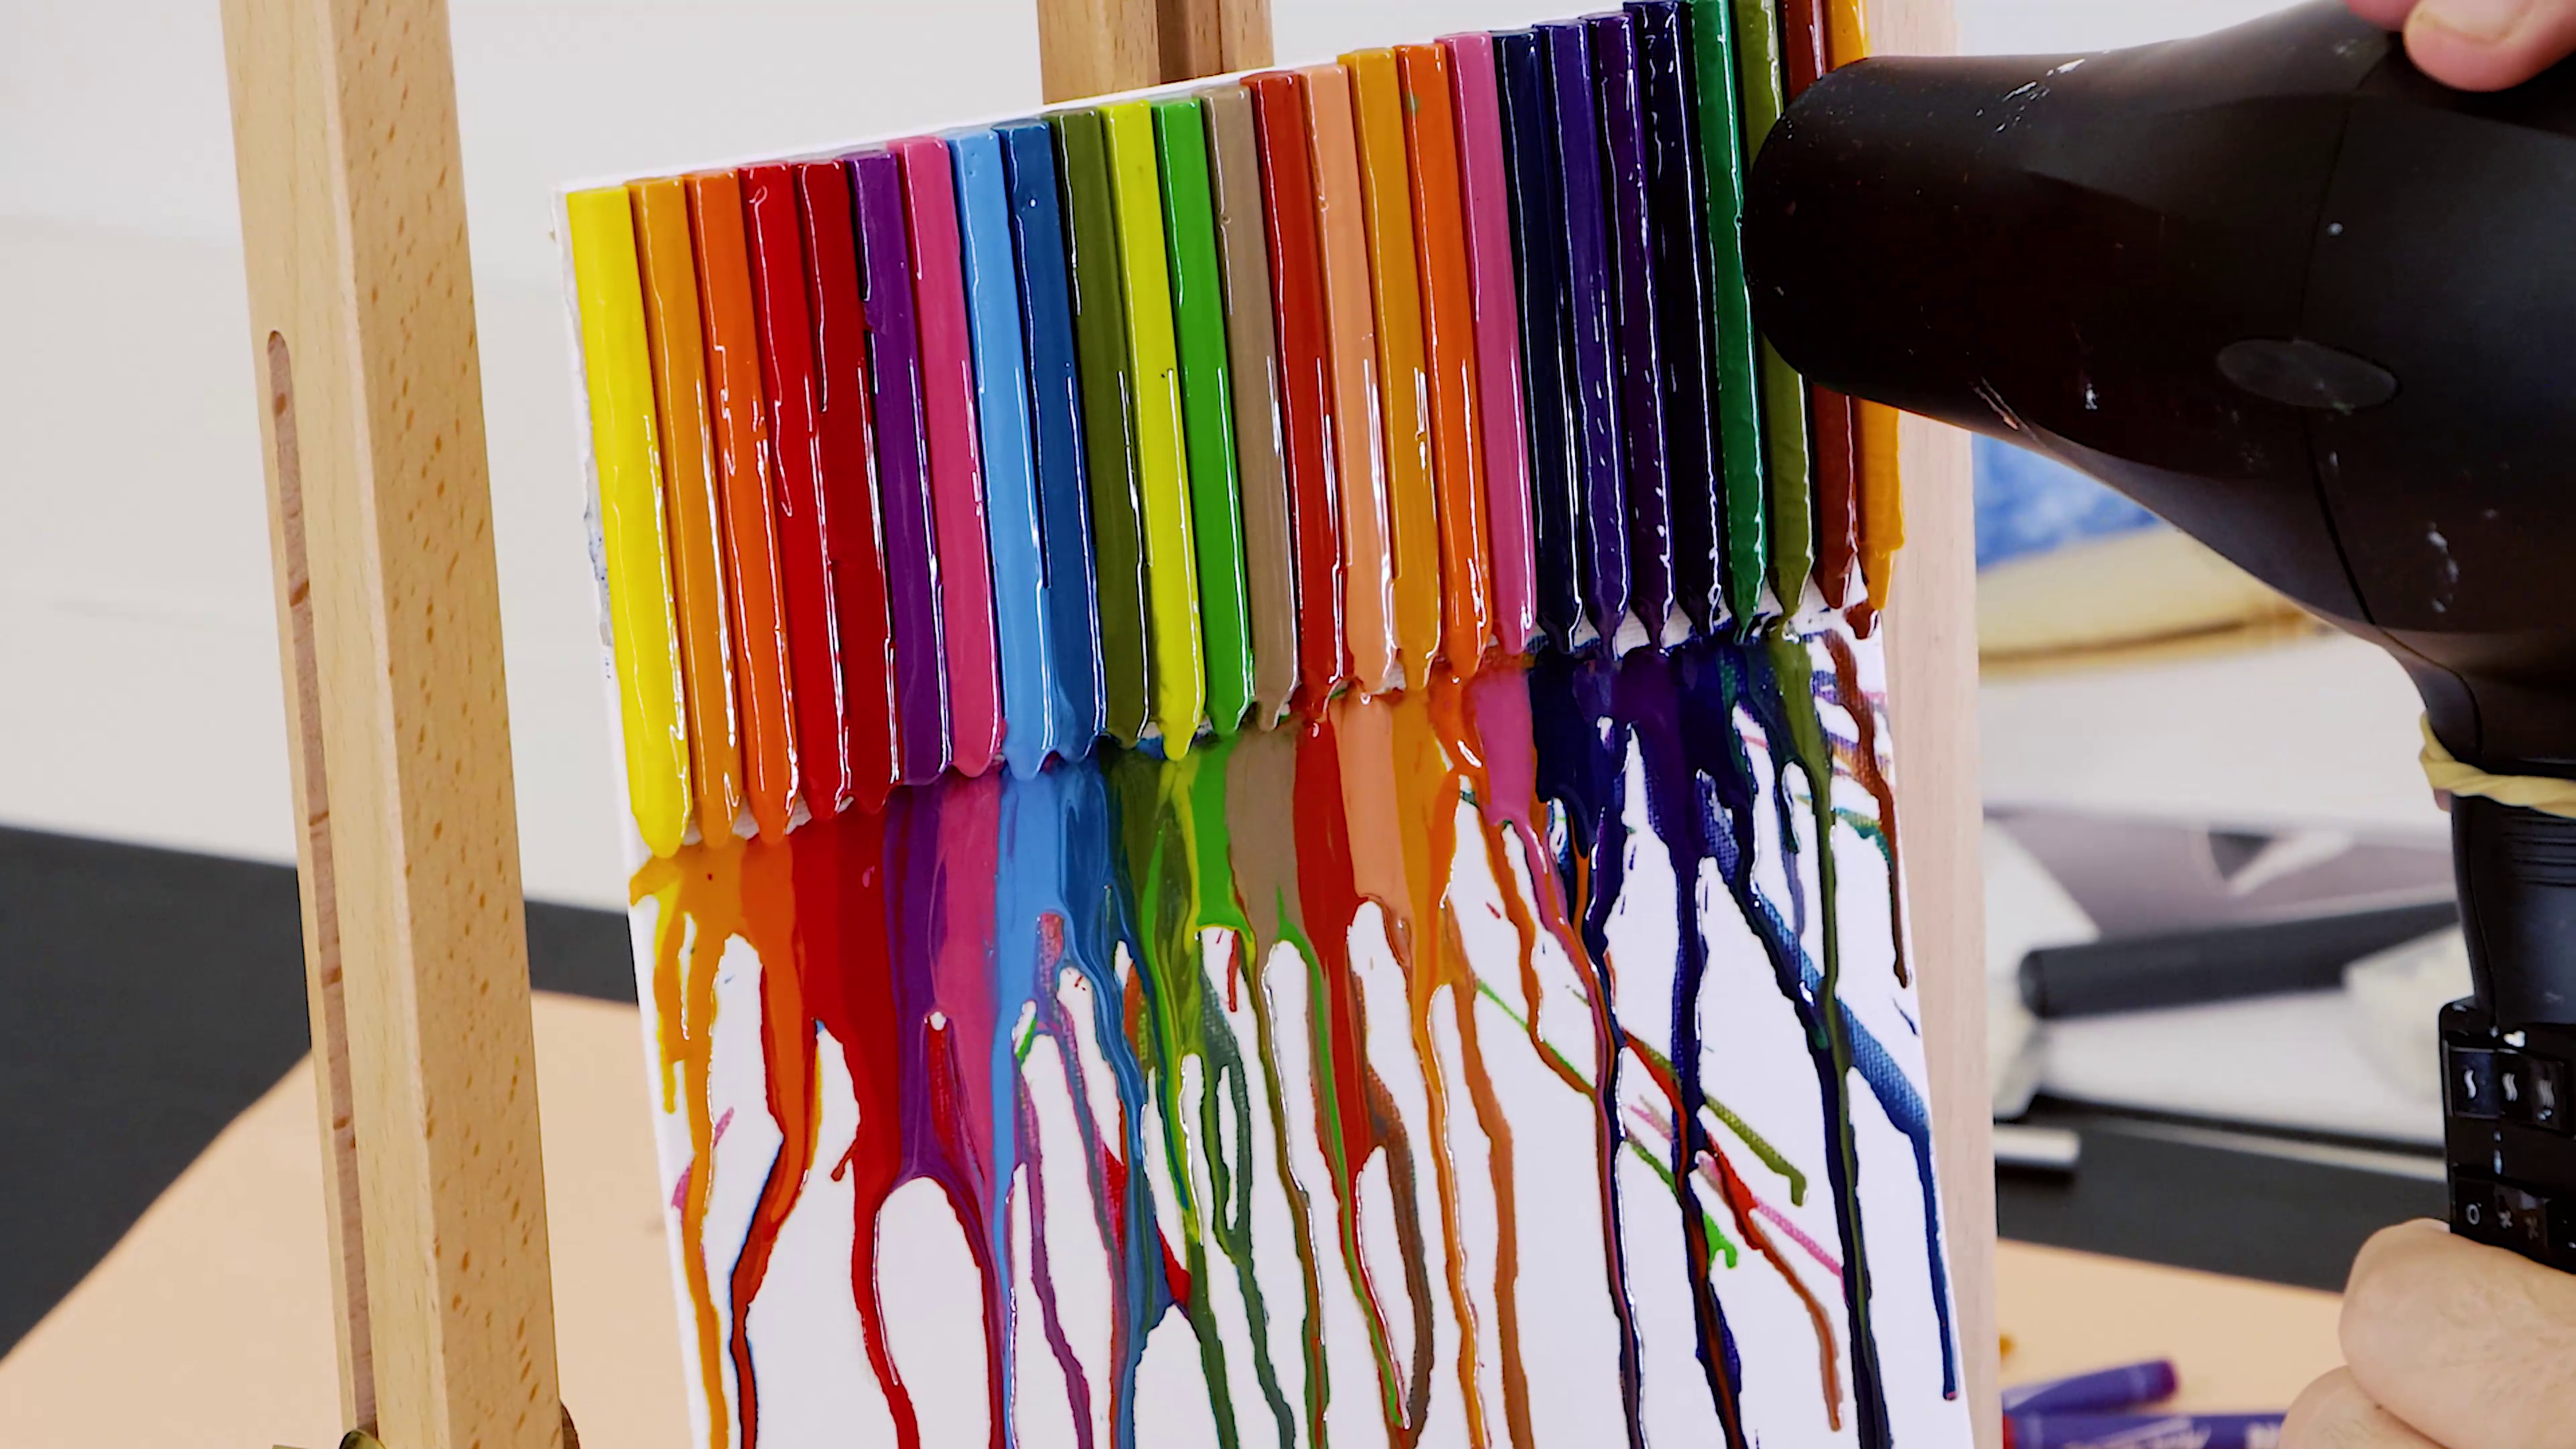
Sizing will become tacky in 25 minutes (you can speed up this process by using a hair dryer), then it will stay ‘open’ for 72 hours, so you’ll have around 72 hours to get your gold leaf on once it becomes tacky.
Looking for more? Before getting started, check out these 8 handy DIY gold leaf tips or get stuck in and browse our supplies. Sizing and our imitation gold leaf can be found here.
We hope these gold leaf techniques leave you feeling inspired to create your own gilded masterpieces for yourself. #montmarteart or tag us @montmarteart on Instagram or Facebook, we’d love to see what you create.