


If you’ve ever wondered how to paint bottles, we have some handy tips to get you started. We’ll cover the basics you need to know, as well as some ideas to get you inspired. Let’s dive into it!
1. How to prepare glass for painting
Step 1 to getting the best bottle painting results is to clean your bottles! Give them a good wipe over with isopropyl alcohol to remove any grease and grime. A clean canvas helps your paint adhere better and stay longer.
2. Planning artwork
Once your clean surface is completely dry, it’s time to plan out your artwork. If you’re painting the bottle a new colour, start with a very thin base coat of your chosen colour, so you can draw out your design on top.
Draft the design with a pencil drawing on the bottle, pressing lightly so it doesn’t create dark lines or remove the base coat. If you left your base paint-free for translucent effects, use a detail brush to outline your design with your chosen paints. Make sure to keep your outline thin, as thinner coats bond more closely to the glass.
3. Bottle art paints
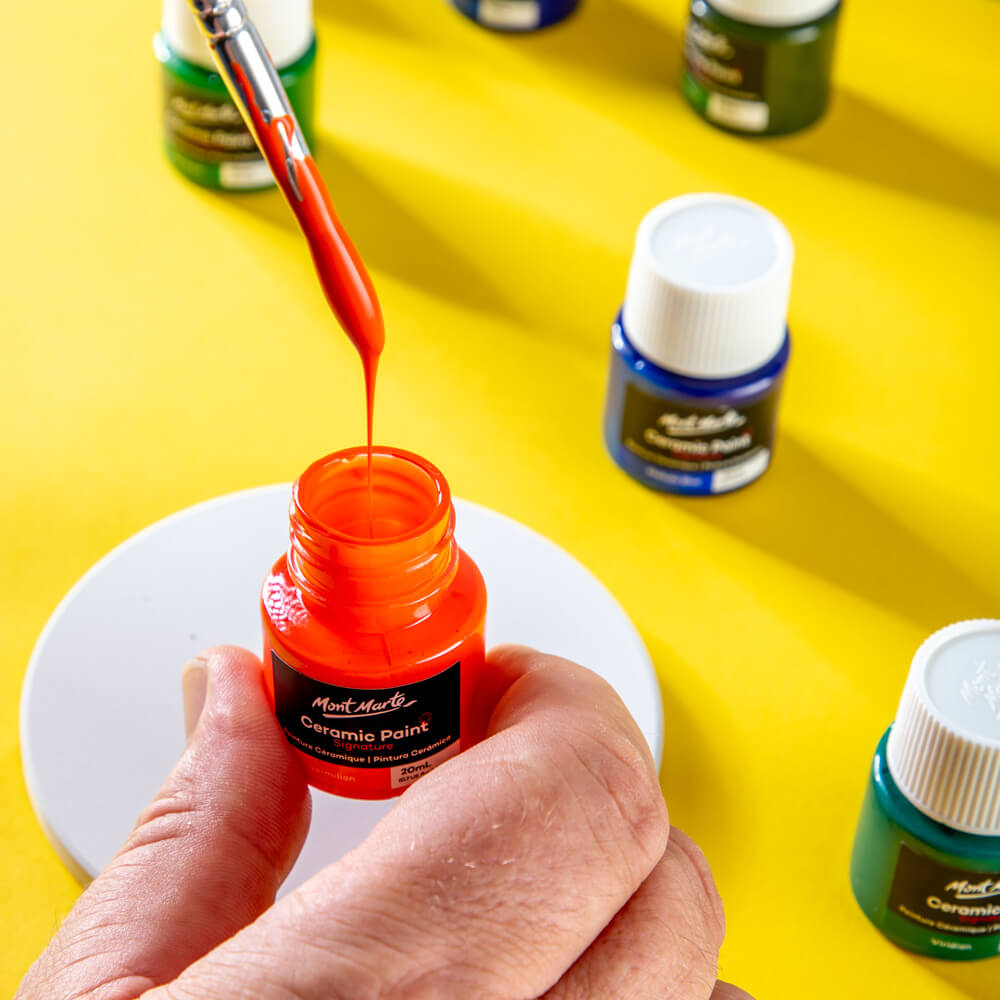
Our best paints for glass painting are our range of Ceramic Paints. These are formulated with a heat-activated hardening agent that makes the paints hard wearing and more scratch resistant. This makes them ideal for glass and other non porous surfaces, which regular paints may struggle to adhere to.
Apply your paints in thin layers, being careful not to build the colours too thickly. Once dry, pop your bottle into the oven at 140ºC and heat for 30min to cure the paint. Leave to cool and avoid washing for 24 hours. If you do need to wash your design after 24 hours, gently hand wash to protect your design.
You can also try using standard acrylic paints on glass, provided you thin them first. Applying thin layers of paint is the key to longer lasting results, so make sure you let each layer dry in between coats and don’t build up your colours too much. Thicker paint is easier to scratch and damage.
You can also experiment with using paint pens, so long as you keep your application thin and don’t create thick layers of colour. Just keep in mind that as standard acrylics do not have hardening agents, you may find they tarnish more easily. We wouldn’t recommend using them on a non porous surface that undergoes regular wear and tear!
Sealing your bottle with a varnish will help further protect your artwork, as it is more scratch-resistant than paint. We’ll walk you through this process further on!
4. Paint tape designs
You may want to use masking or painter’s tape to help keep your patterns precise. Simply apply the tape in spots you want to keep pristine, then paint around and over the tape. Before the paint is touch dry but not while it’s completely wet, peel off the tape to reveal your untouched areas and clean lines.
You can use tape over the top of dry paint as well, just remember to keep your colour application thin for the best results!
5. Bottle decoration with clay
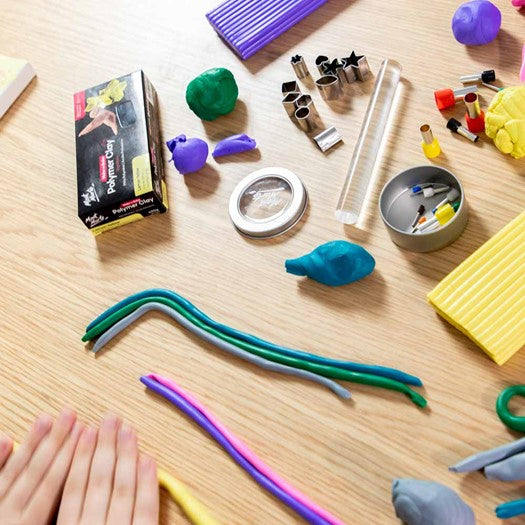
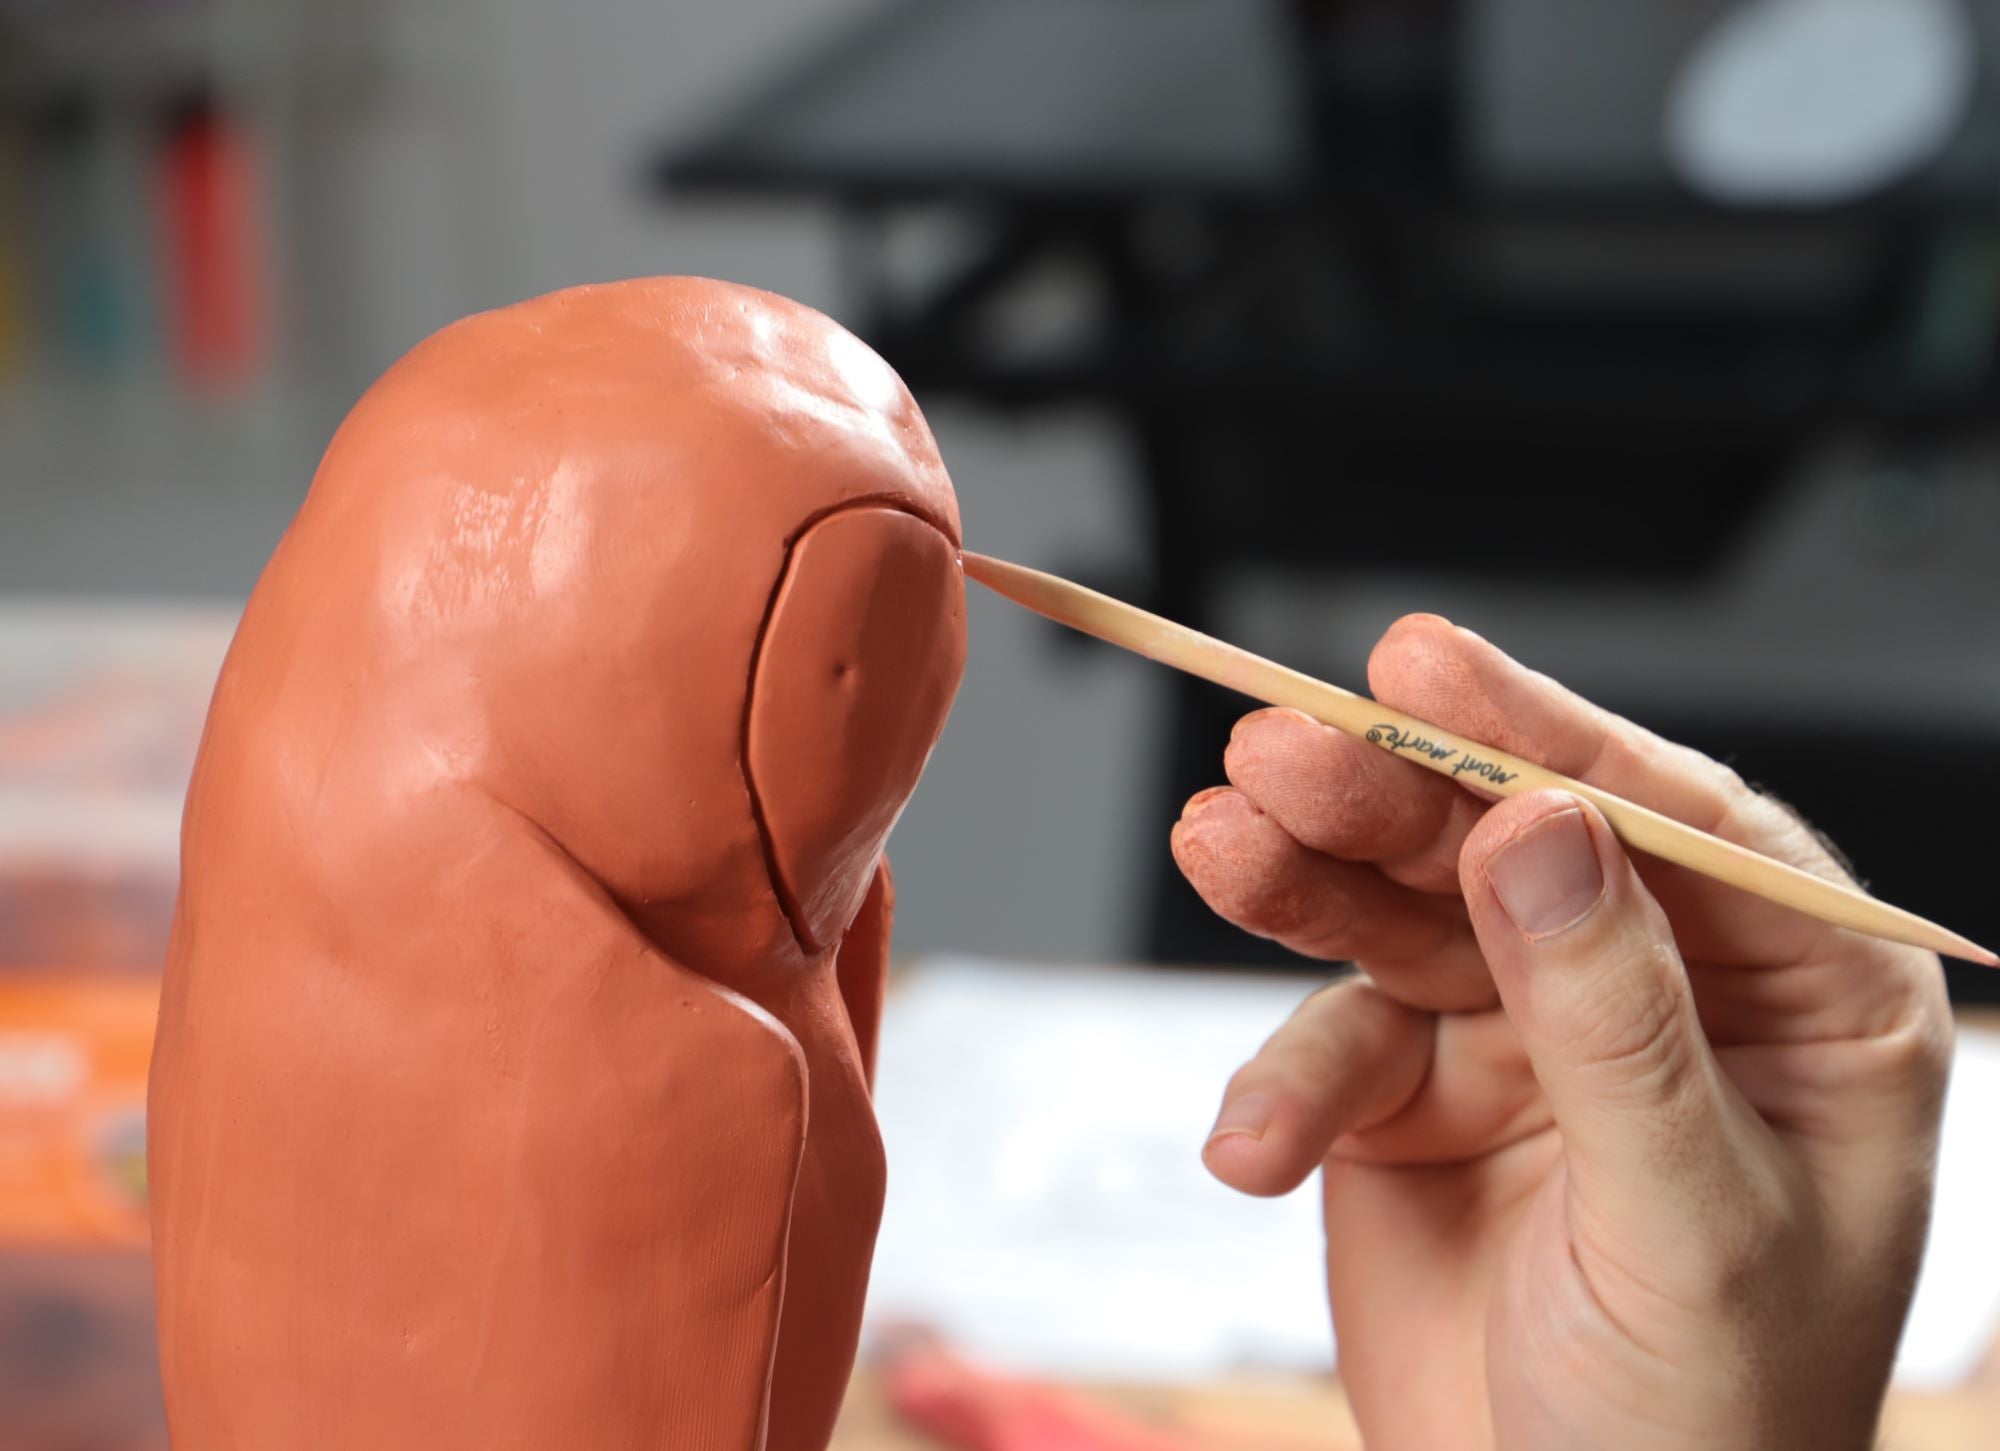
Polymer Clay is a great creative tool for adding 3D elements to your bottle art. Roll out thin tubes of clay to create intricate linework or cut out shapes for unique dimensional designs. You’ll need to use some PVA Craft Glue to stick the Polymer Clay to the glass, and don’t forget to cure the clay in the oven once the glue has completely dried!
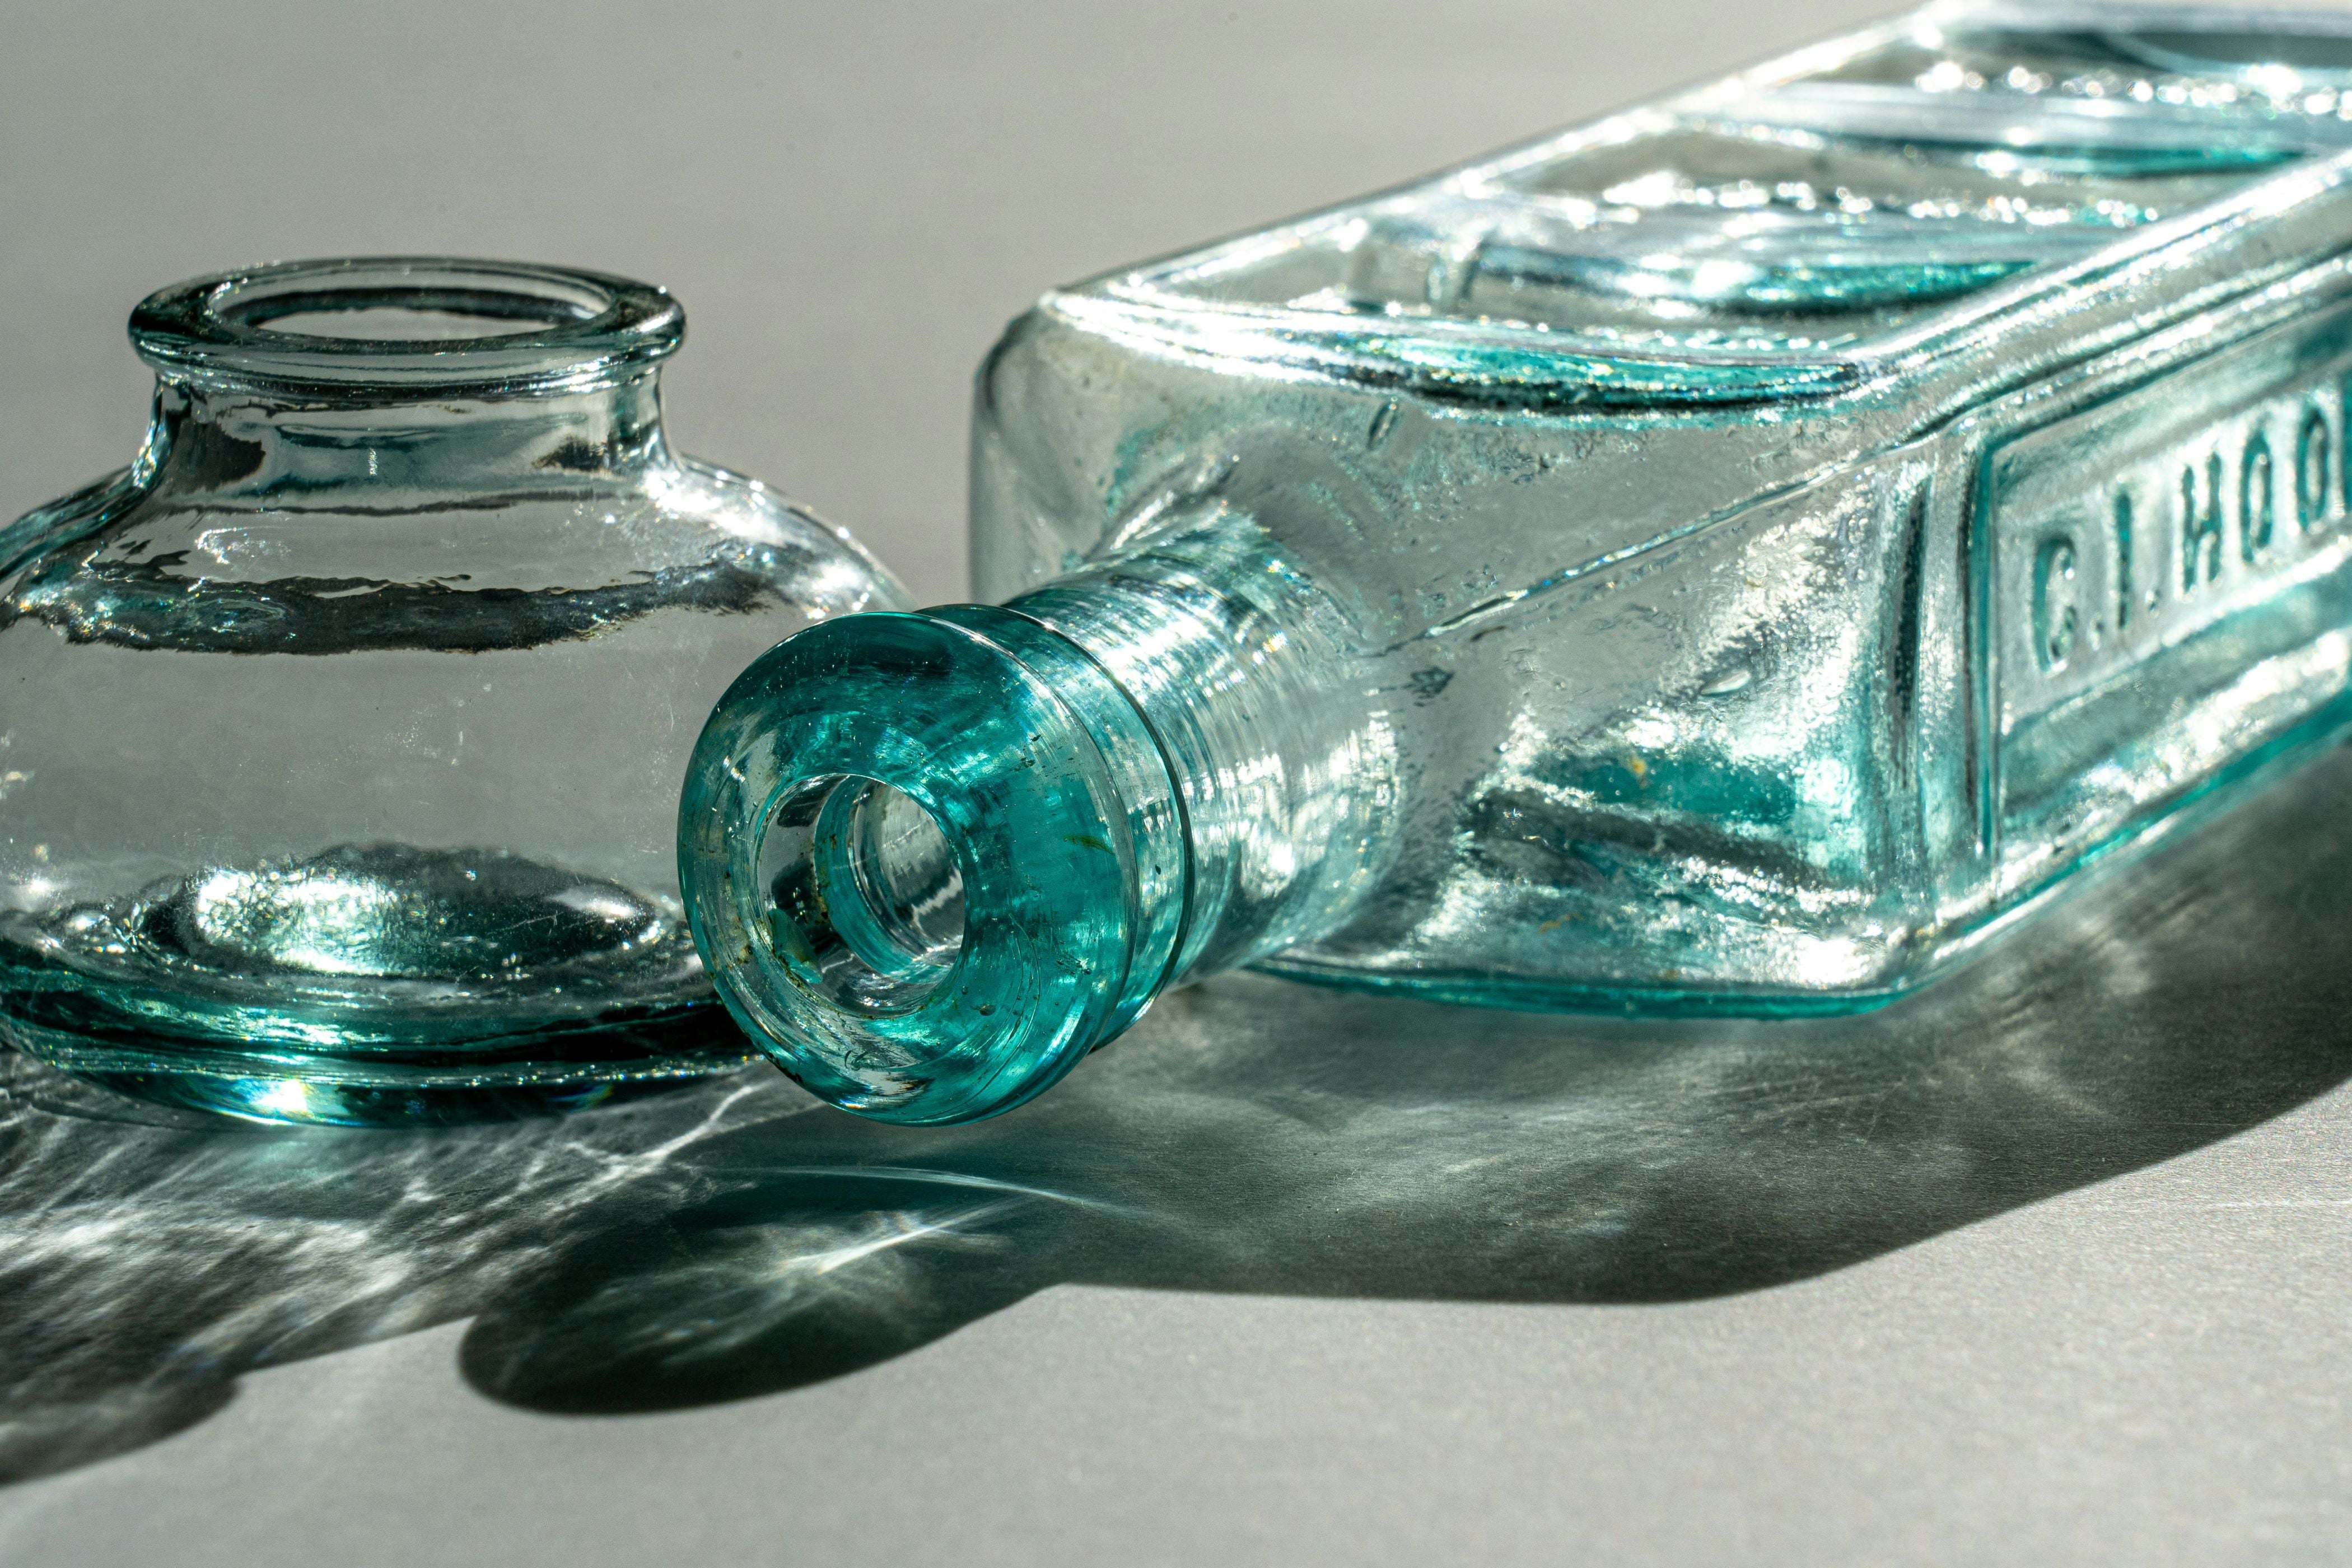
6. Transparent bottle painting
You can DIY translucent paint by simply adding some water. This is a handy hack as it not only increases transparency but thins the paint as well. You can also use our Ceramic Paint Medium that comes with our Ceramic Paints to reduce opacity; just mix it into your colours and then apply them to the bottle!
This technique is great for creating a stained-glass effect on clear glass. You can outline your design with a bold or metallic colour to make the stained-glass effect pop!
7. Applying varnish
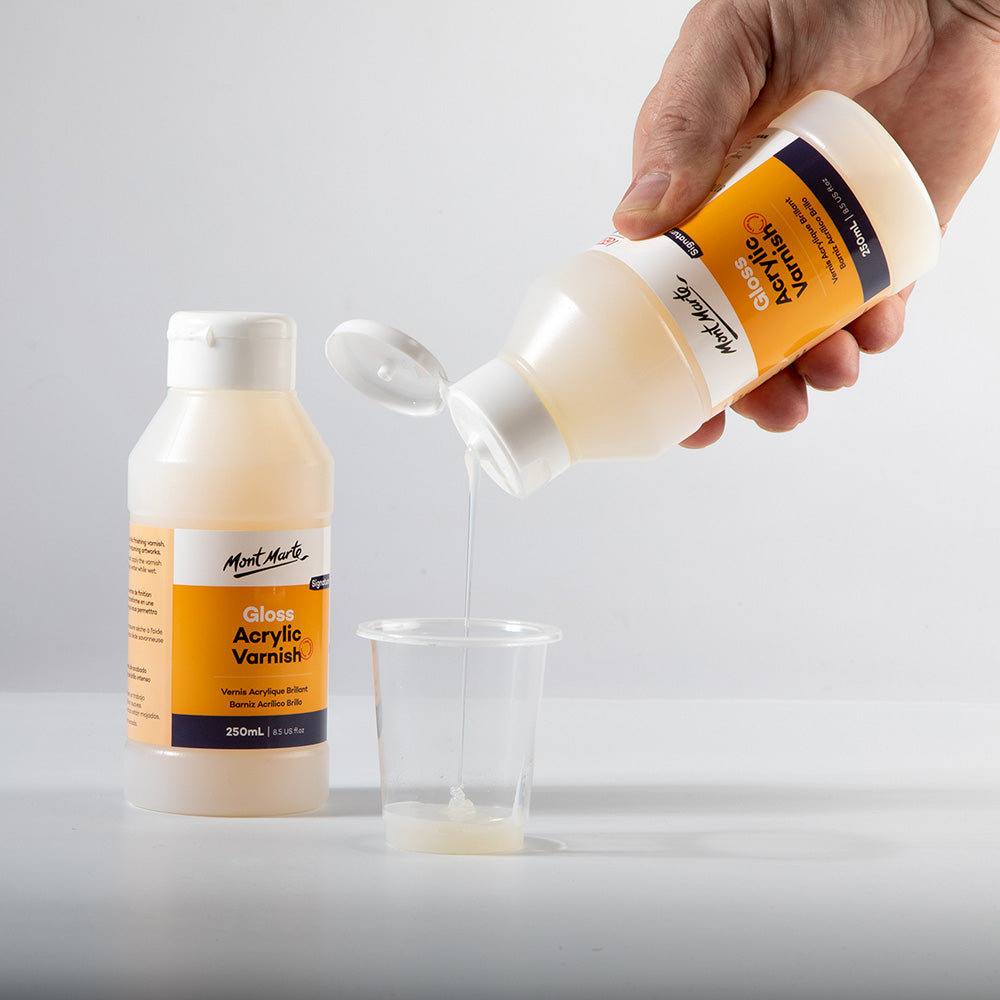
Finish off your bottle art by sealing your paint with a finishing varnish. This will help protect your artwork, improving scratch resistance and longevity. If you’re using Ceramic Paints, apply the varnish after you’ve cured the paints in the oven, once the bottle is cool. You can thin our Gloss Acrylic Varnish using water – just don’t exceed a 1:1 ratio of varnish to water for the best results.
Now you know some tips for how to do bottle painting, you’re ready to tackle a project! If you do make something, #montmarteart or tag us @montmarteart on Instagram or Facebook. We’d love to see what you create!
Stock up on Ceramic Paints and grab some Gloss Acrylic Varnish so you can start painting sooner. Find more ideas by checking out our Tips & Techniques blogs on our Create space. We have a blog dedicated to 7 Ceramic Painting Tips that you can explore!
Stay updated with our latest tips, tricks, featured artists, projects, and more, and subscribe to Creative Connection by entering your email down below.