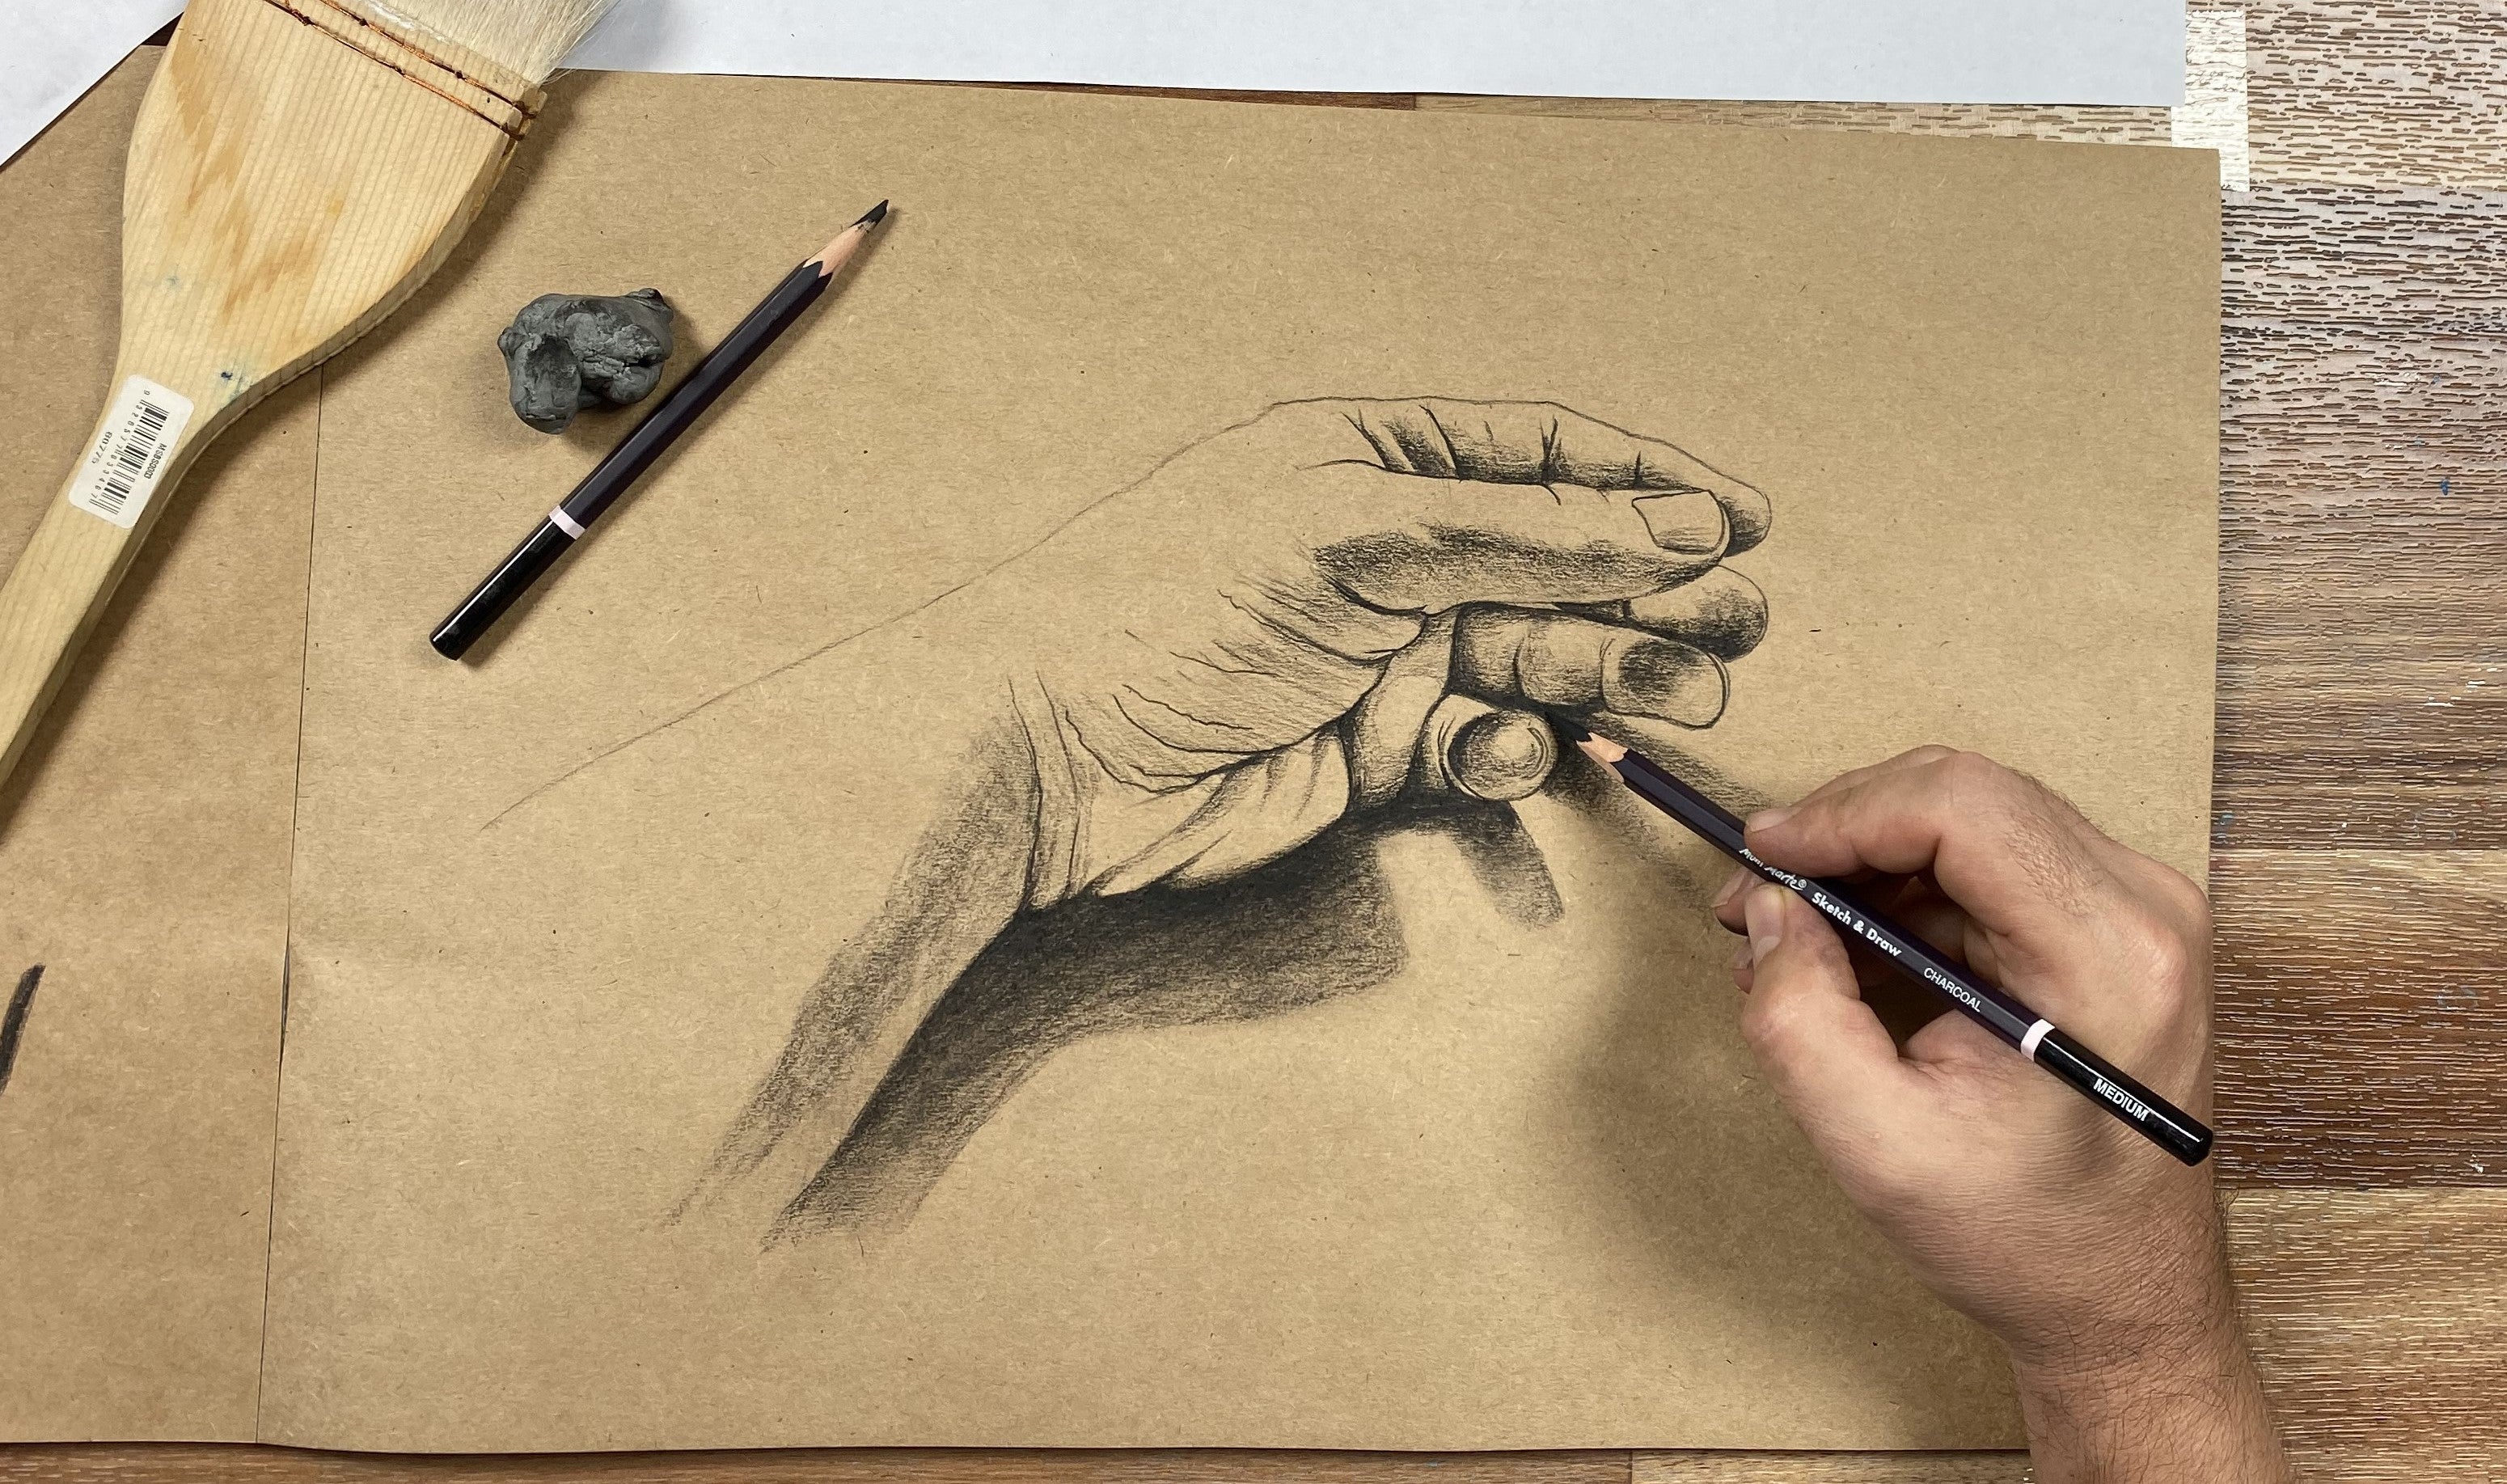


Whether you’ve tried charcoal before or you’re totally new to the medium, grab a stick and let these 11 charcoal techniques set the tone for your next creative session.
1. Hatching
Create shadows or add in texture to your works using the hatching technique. Hatching works best with charcoal pencils, because you can use the point to get crisp, sharp lines. To create hatching, simply draw a series of parallel lines close together to create the appearance of tone and texture. You can space the lines close together or further apart, it’s totally up to you and the effect you’re wanting to create.
2. Cross hatching
Add depth and weight to your subjects by cross hatching. This well-known technique uses crisscross lines over one another in three directions: vertically, horizontally and diagonally. You can create more shadows or textures depending on how far the gaps within the lines are. Like hatching, this technique is great for charcoal pencils, but you can also use charcoal sticks in your cross hatching, to cover large areas too. Give it a crack and see what works for you.
3. Contour hatching
Instead of using parallel lines like hatching or cross hatching, use contour hatching to give subjects dimension or bring your still lifes alive with this technique. Contour hatching follows the curved lines of an object to help add depth and tone to your objects like hatching. Contour hatching will give your charcoal drawings more dimension and look more lifelike.
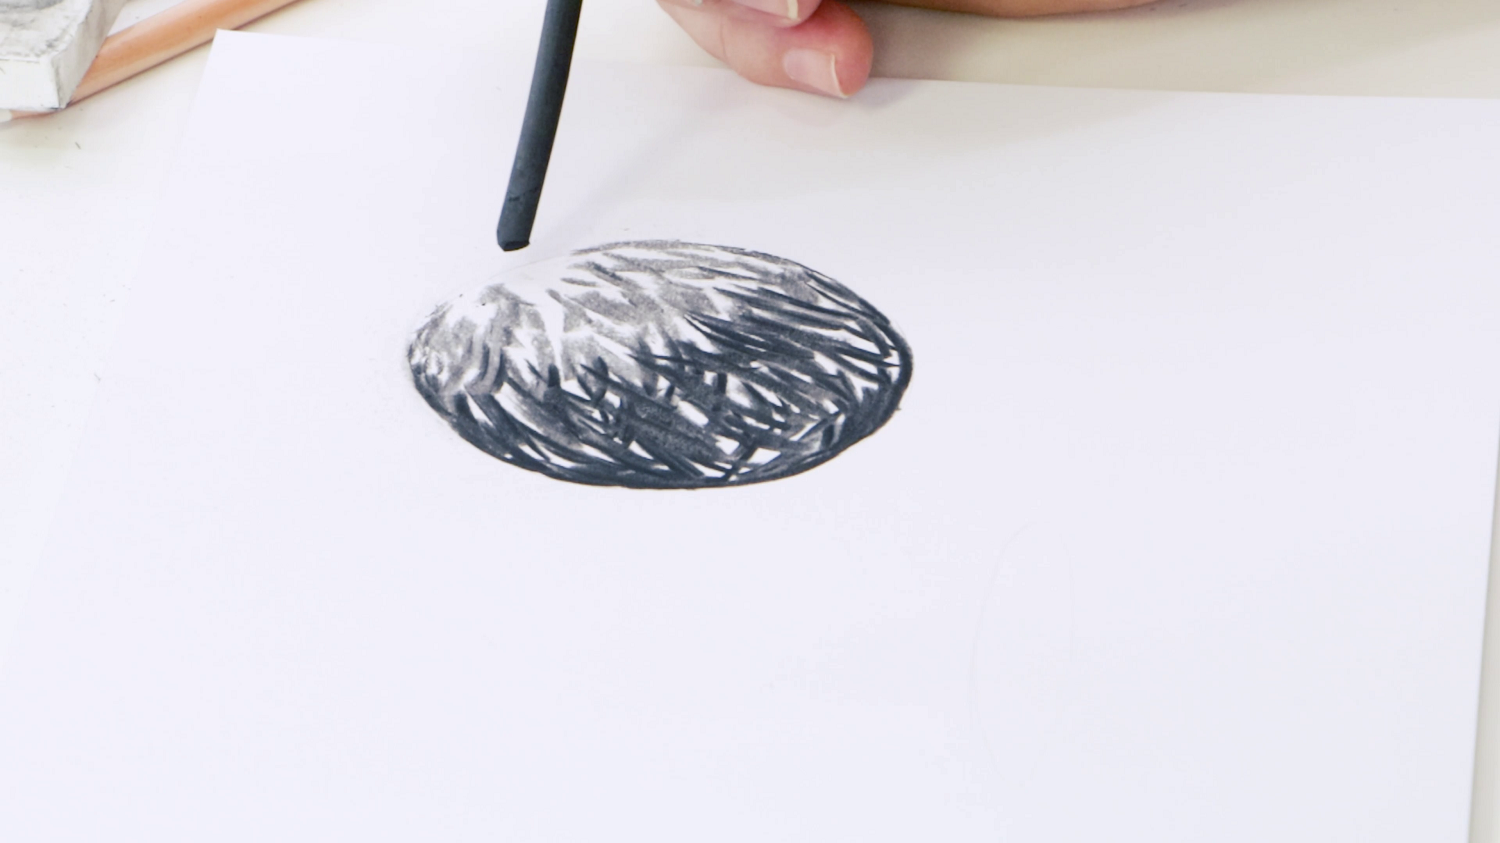
4. Expressive Lines
One of the most loved features of charcoal sticks is the freedom they give for allowing expressive lines. Use the side of the charcoal stick and rub down the paper like a crayon, this will give you a large, broad stroke and depending on the paper you’re using, can leave some tooth exposed for highlights too. Or try using the edge of the stick and as you pull down, gently roll the stick in your hand, as you drag down the paper. This charcoal technique will create a thick, broken line effect to show where the light is.
5. Stippling
If you’re using charcoal pencils, you can use stippling as a technique next time you reach for your charcoals. Because it’s also a pencil technique, stippling is best used with charcoal pencils, thanks to their sharp, fine points. Use a sharp point and create light and dark areas using dots. The closer together the dots, the darker the area and lighter areas will form because of the fewer dots, showing the white of the paper underneath. Use this charcoal technique to create textures like walls, ground or use the technique on its own like pointillism.
6. Scumbling
Scumbling can add energy and texture to your work and it’s a great way to add extra shadows to your next masterpiece. Try tiny squiggles on top of one another in a circular motion or a few coils here and there for less dramatic effect. Use this charcoal technique next time you work, to create fine details like smoke, or texture like bark and rocks.
7. Blending
Because of charcoal’s monochrome look, blending is pretty important when it comes to charcoal techniques. To avoid your charcoal looking flat or two-dimensional, use blending to make your works look more realistic. You can use your fingers to smudge areas for darker effects and control the right amount of pressure you need when blending. Or for larger areas, a tissue can also help blend without too much precision and show shadow. If you need to blend a small, tight area, then a paint brush can also be used for smaller areas that need precision and care.
8. Lifting
Removing charcoal with an eraser lifts the pigment from the paper and allows the white of the paper to show through. This is a technique you would want to use for showing highlights. To lift charcoal, use a soft kneaded eraser and mould it to the shape you’re after, then use the putty to push and pull the lighter areas from your paper. This can also help remove any excess dust or charcoal powder from your work.
9. Pressure stroke
Pressure strokes can help create shadows and enhance the dark values in your works. To try this charcoal technique, apply slight pressure as the charcoal travels across the paper, then place firmer pressure as the stroke widens. This will leave a tapered line that will create shadows or use this technique to add those tiny details like waves or currents in water.
10. Frottage
Next up, is frottage. This is a technique where paper is placed over a textured or rough surface then using charcoal, rubbed back and forth to show the textured surface underneath through the paper. If you’ve heard of frottage before, it’s because it can also be used with coloured pencils too, to see our coloured pencil techniques see here. Frottage adds interesting effects, plus you can use the exact texture you’re looking to replicate, just by scribbling over it. Think pebbles, bark and even coins can make for great frottage surfaces.
11. Reverse white
When using white charcoal, you might find that you’ll have a slightly different plan of attack, instead of adding your shadows in first, work backwards, putting your highlights in first and leave the shadows. Use the darkness of the paper to be the dark tonal values in your artwork and blend with your finger to smooth it out.
The reverse white charcoal technique is great for using coloured charcoal, like white on black paper.
We hope that you feel inspired to try these charcoal techniques for yourself. Give it a whirl and show us what you create. #montmarteart or tag us @montmarteart on Instagram or Facebook.
Wanting more? Check out our answers to 15 common charcoal pencil questions.